

This post contains affiliate links. Thank you for helping support kenanhill.com and this free content!
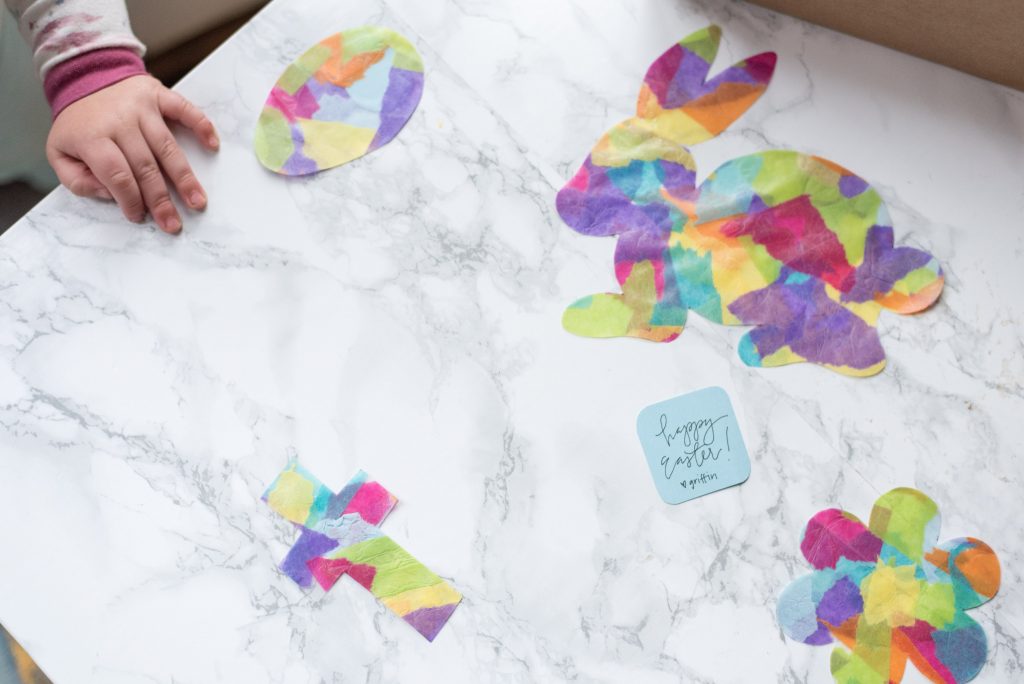
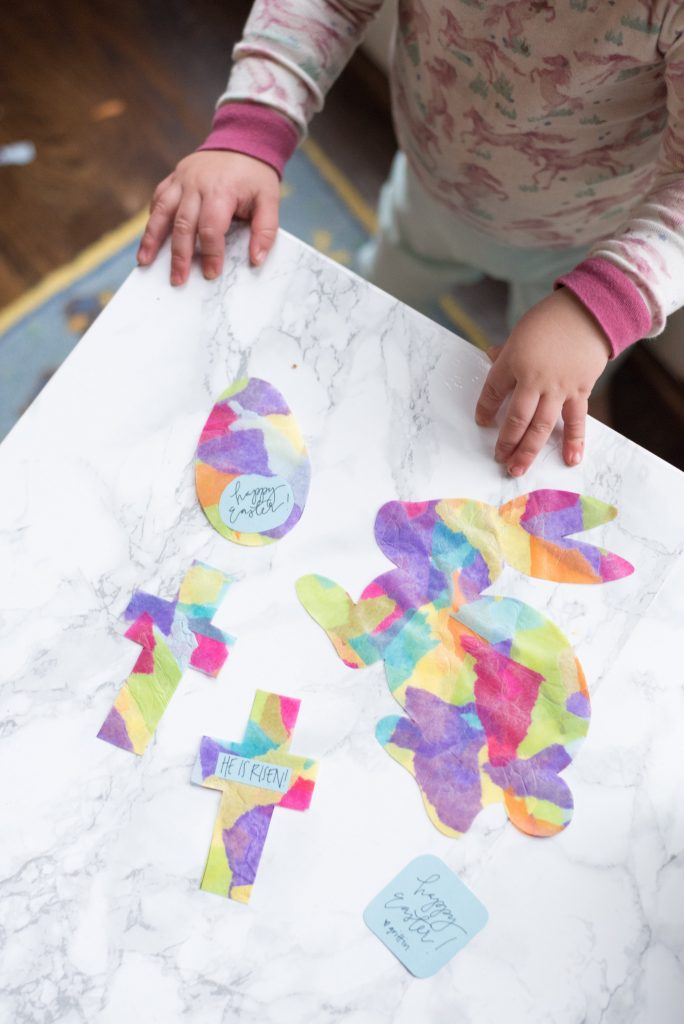
Days at home with a toddler can be long, and crafts give me something to look forward to. My son is 16 months old, so he’s still a bit young for paint or glue. That’s why this tissue paper “stained glass” is great! I used clear contact paper, which is sticky but not messy. Griffin’s favorite part was helping rip the tissue paper into lots of little pieces (which could double as Easter confetti!). At this age, I did most of the work, but slightly older kids might enjoy helping trace or cut out the shapes.
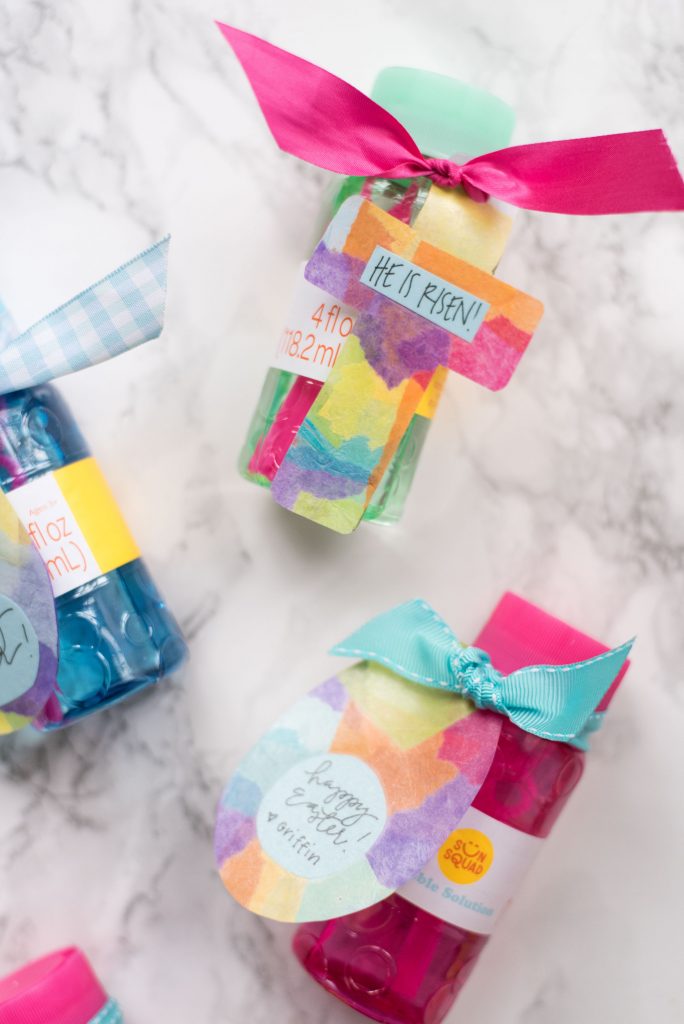
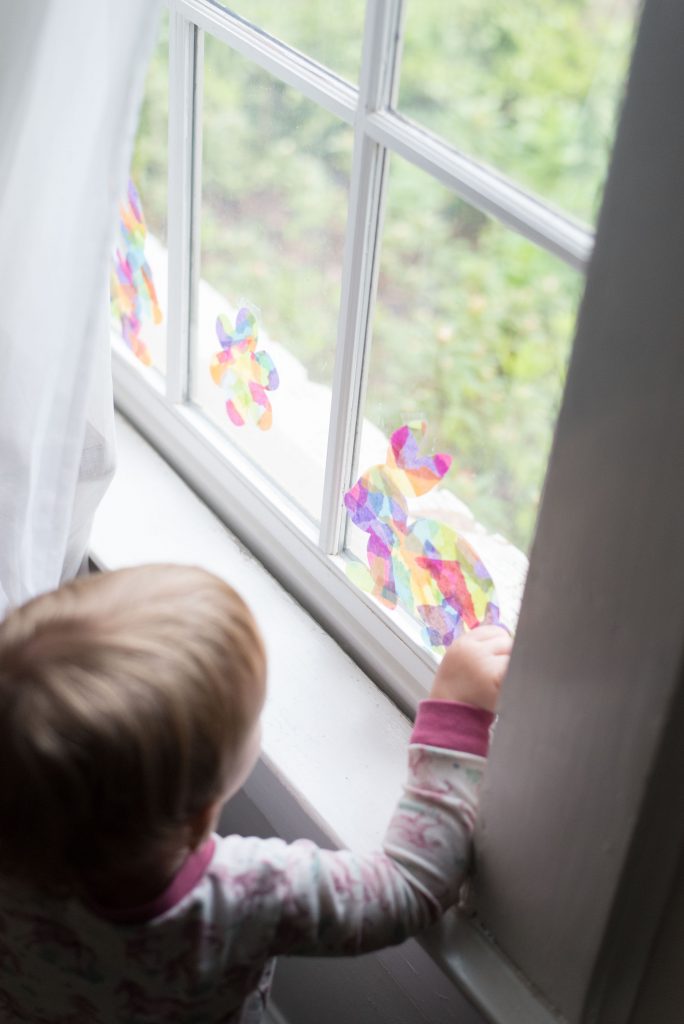
The translucent tissue paper looks beautiful taped to a window, giving it the stained glass effect. I also used smaller cut-outs for gift tags. I got a pack of bubbles at Target to give to a few little friends as an Easter treat (similar from Amazon). They’d also make cute name cards for your Easter table!
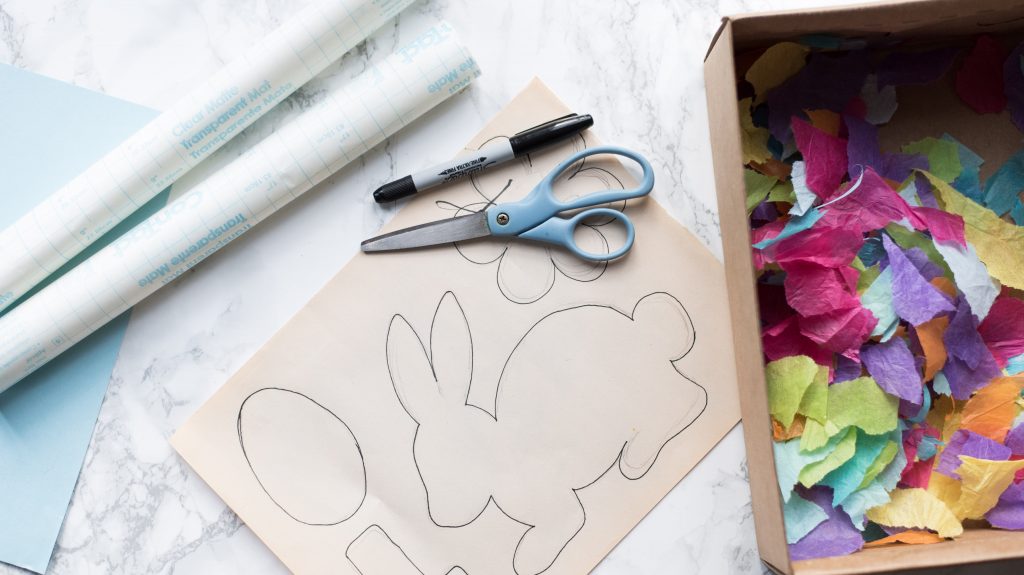
For supplies, I used this contact paper and pastel tissue paper. You can likely find contact paper at a grocery store, office supply store, or Target/Walmart as well. If you’re a gift wrap hoarder like me, you probably already have plenty of tissue paper around.
SUPPLIES:
1 roll of contact paper (approx. 5 ft roll)
Assorted tissue paper
1-2 sheets of letter size paper
Dark permanent marker, such as a sharpie
Scissors
Hole punch & ribbon (optional)
STEPS:
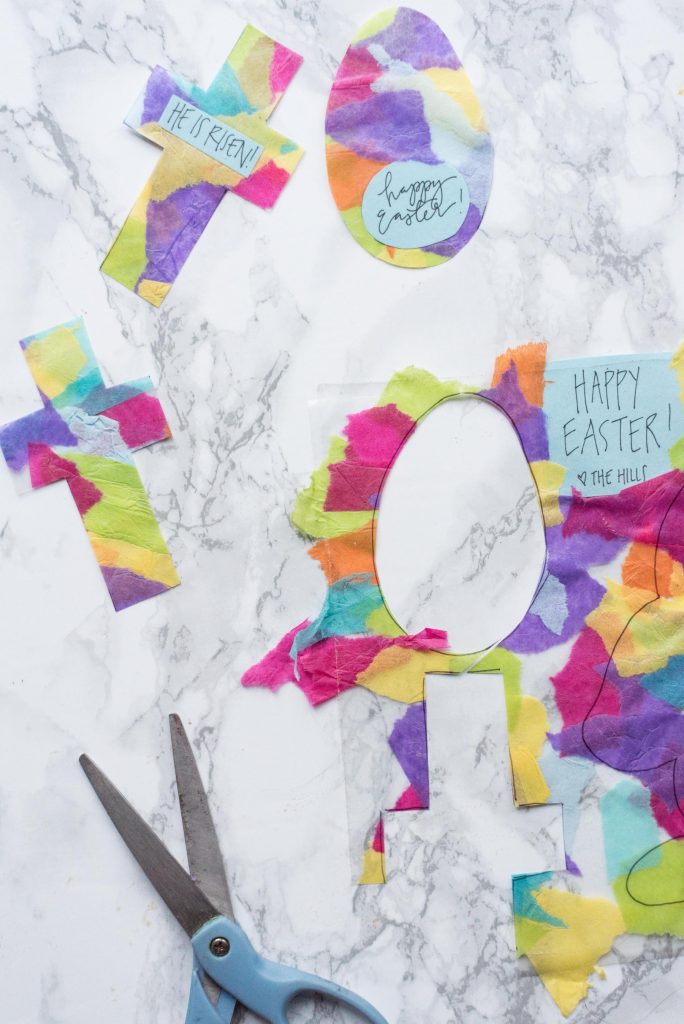
Step 1: Tear or cut tissue paper into small pieces, roughly 1” in size. If you want to add a small message (like “Happy Easter”) to your cut-outs, write or print it on paper and cut it out as well.
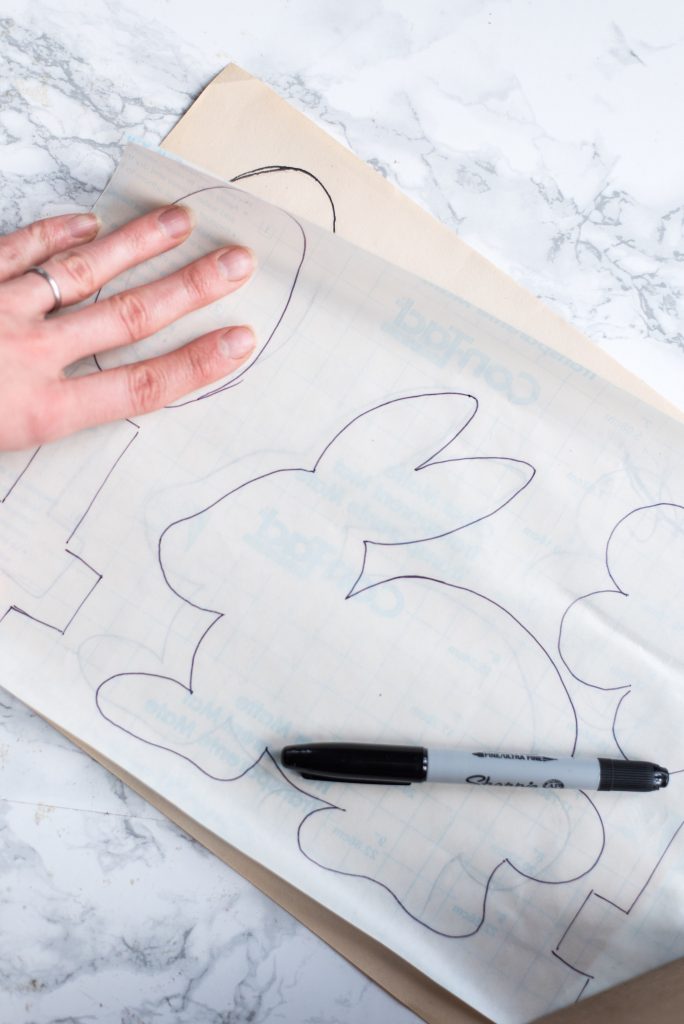
Step 2: Draw or print outlines of shapes you want to use, like bunnies, flowers, eggs, etc. (Google “[shape] outline” for ideas and inspiration, like “bunny outline” or “tulip outline”). Go over the lines with a dark marker if necessary so you’ll be able to see them through the contact paper.
Step 3: Cut out two pieces of contact paper that are roughly the size of the paper with your shapes on it.
Step 4: Lay one piece of contact paper over your shapes, backing side down. With a permanent marker, trace the shapes onto the contact paper.
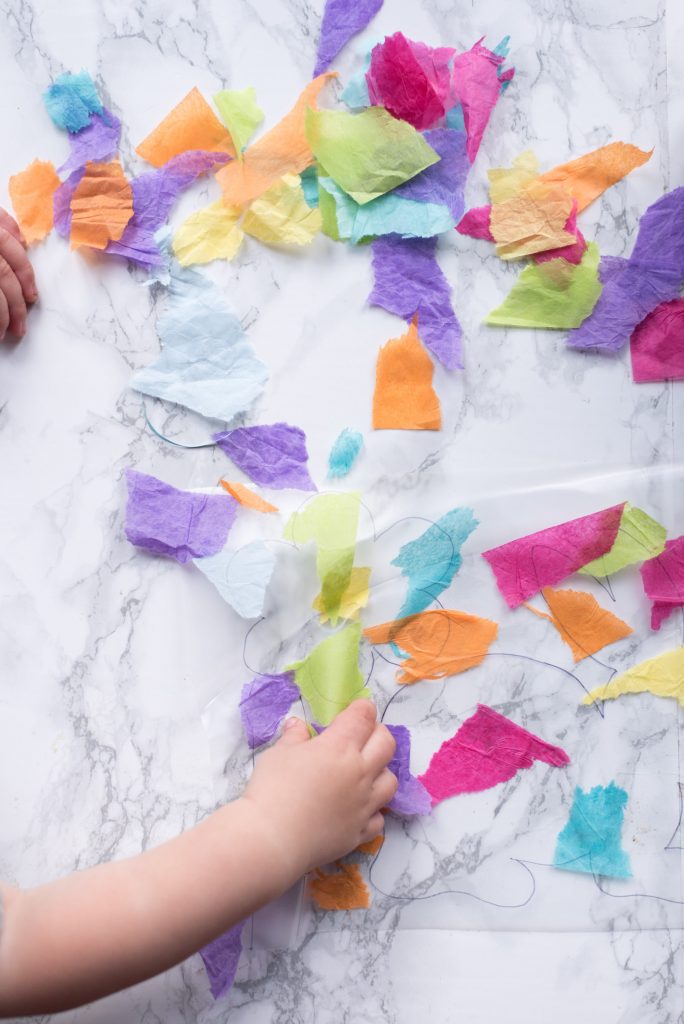
Step 5: Peel the backing off of the contact paper you traced the shapes on. Place it on a clean surface with the sticky side up.
Step 6: If you’re adding cut-out messages, put them down first. Then place tissue paper pieces on the contact paper, making sure to fully cover the traced shapes. It’s fine for the pieces to overlap–it creates blended colors!
Step 7: Once the shapes are covered with tissue paper, place the second piece of contact paper on top. Start by lining up one edge, and gently smooth it down as you cover the tissue paper.
Step 8: Using scissors, cut out the shapes you traced. Tape them to windows or mirrors if desired. For gift tags, punch a hole in the shape and use a ribbon to tie it onto a gift.

Happy Easter, friends!