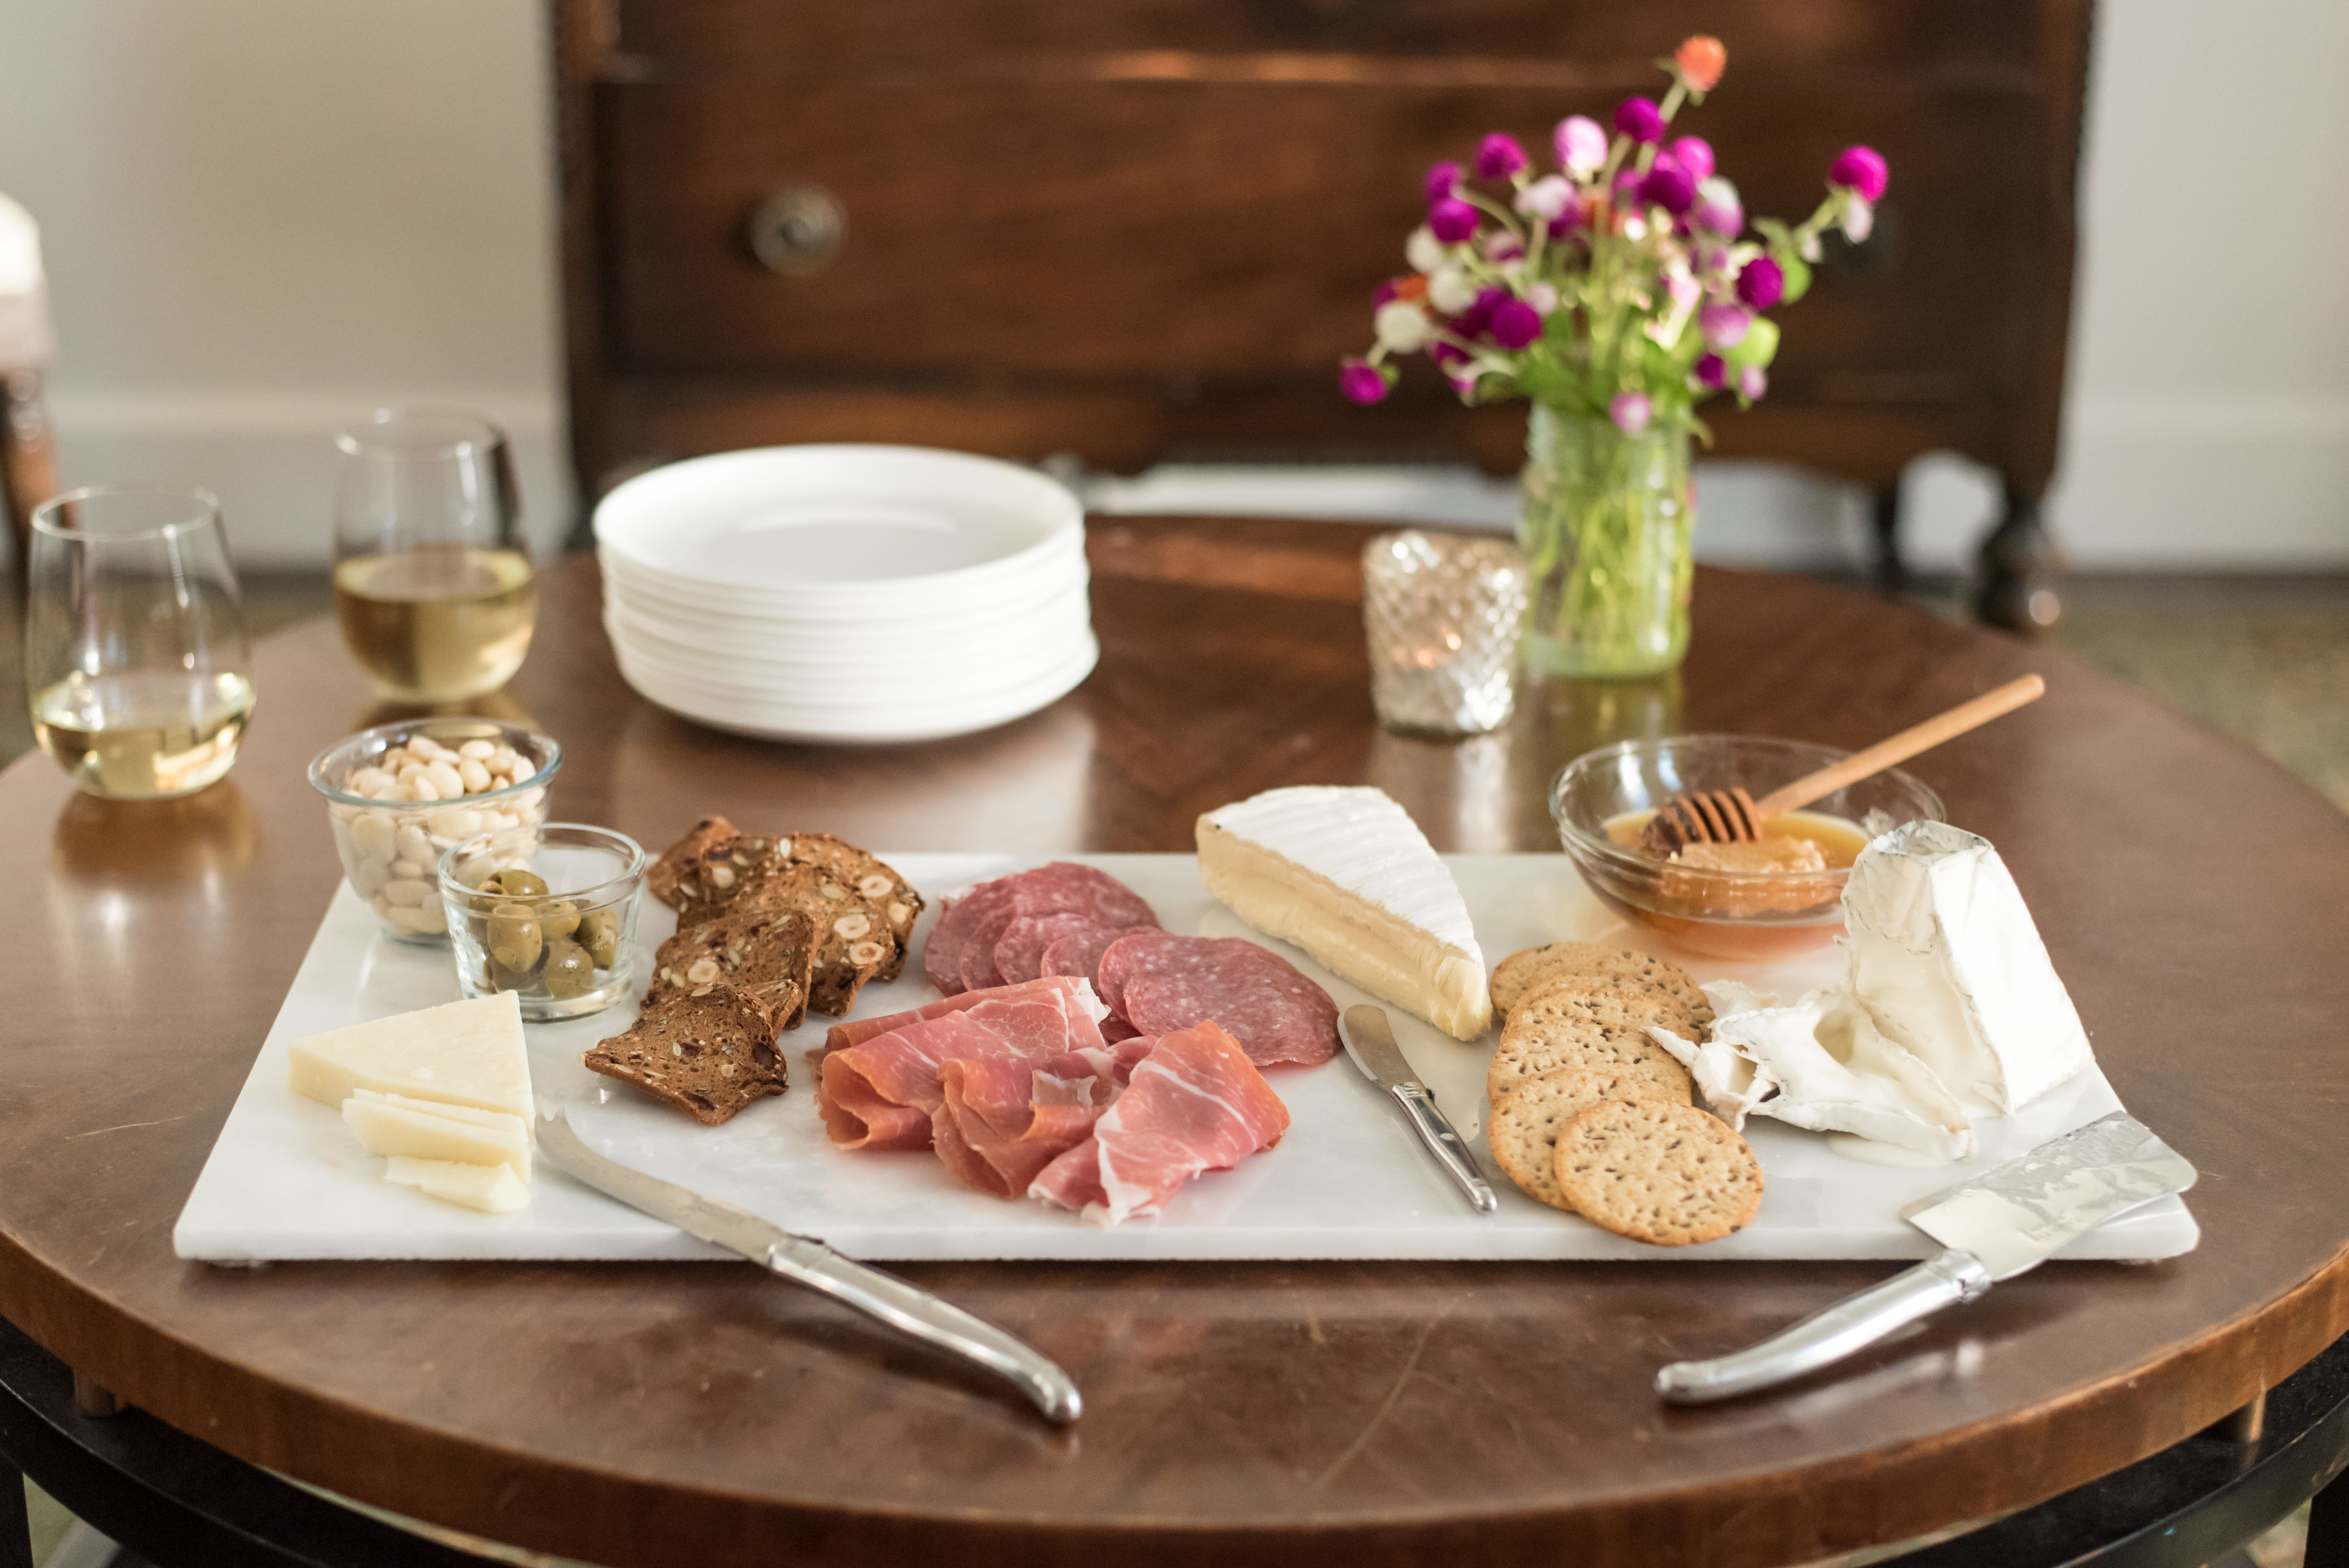
There are few better ways to get a dinner party off to a good start than with a cheese board. Since guests rarely arrive at the same time, it’s nice to have something for guests to eat right away. Fortunately, a beautiful spread of cheese doesn’t take a ton of prep time like a lot of bite-sized appetizers do. Since timing is one of the most difficult parts of entertaining, my favorite benefit of a cheese board is that it buys the host a little extra time. Set it out before guests arrive, and your hands are free (and hangry guests are fed) for at least half an hour. Whether I’m pouring drinks, finishing the main course, or setting the table, I can always use that time!
Here are my best tips for building a better cheese board:
Prep & setup
There isn’t one correct dish for serving cheese, in my opinion. I’ve used all sorts of things, including a wooden cutting board, a silver dish, a marble tile, a slate board, and a regular dinner plate. Just make sure your dish(es) have plenty of room for everything you want to put on them. You might’ve seen photos of beautifully overflowing arrangements of cheese on Instagram, but that’s impractical for actually eating. If you’re serving in a hot climate and concerned about temperature, consider using a chilled ceramic or glass dish.
I urge you: please do not serve your cheese straight out of the refrigerator! Cheese needs to warm up a bit to show its full expression of flavor. Set it out 20 minutes or so before guests are due to arrive; you can even prearrange ahead of time and pop the whole plate into the fridge so it’s ready to go. Then use that last 20 minutes to tidy up, freshen up, or pour yourself a drink.
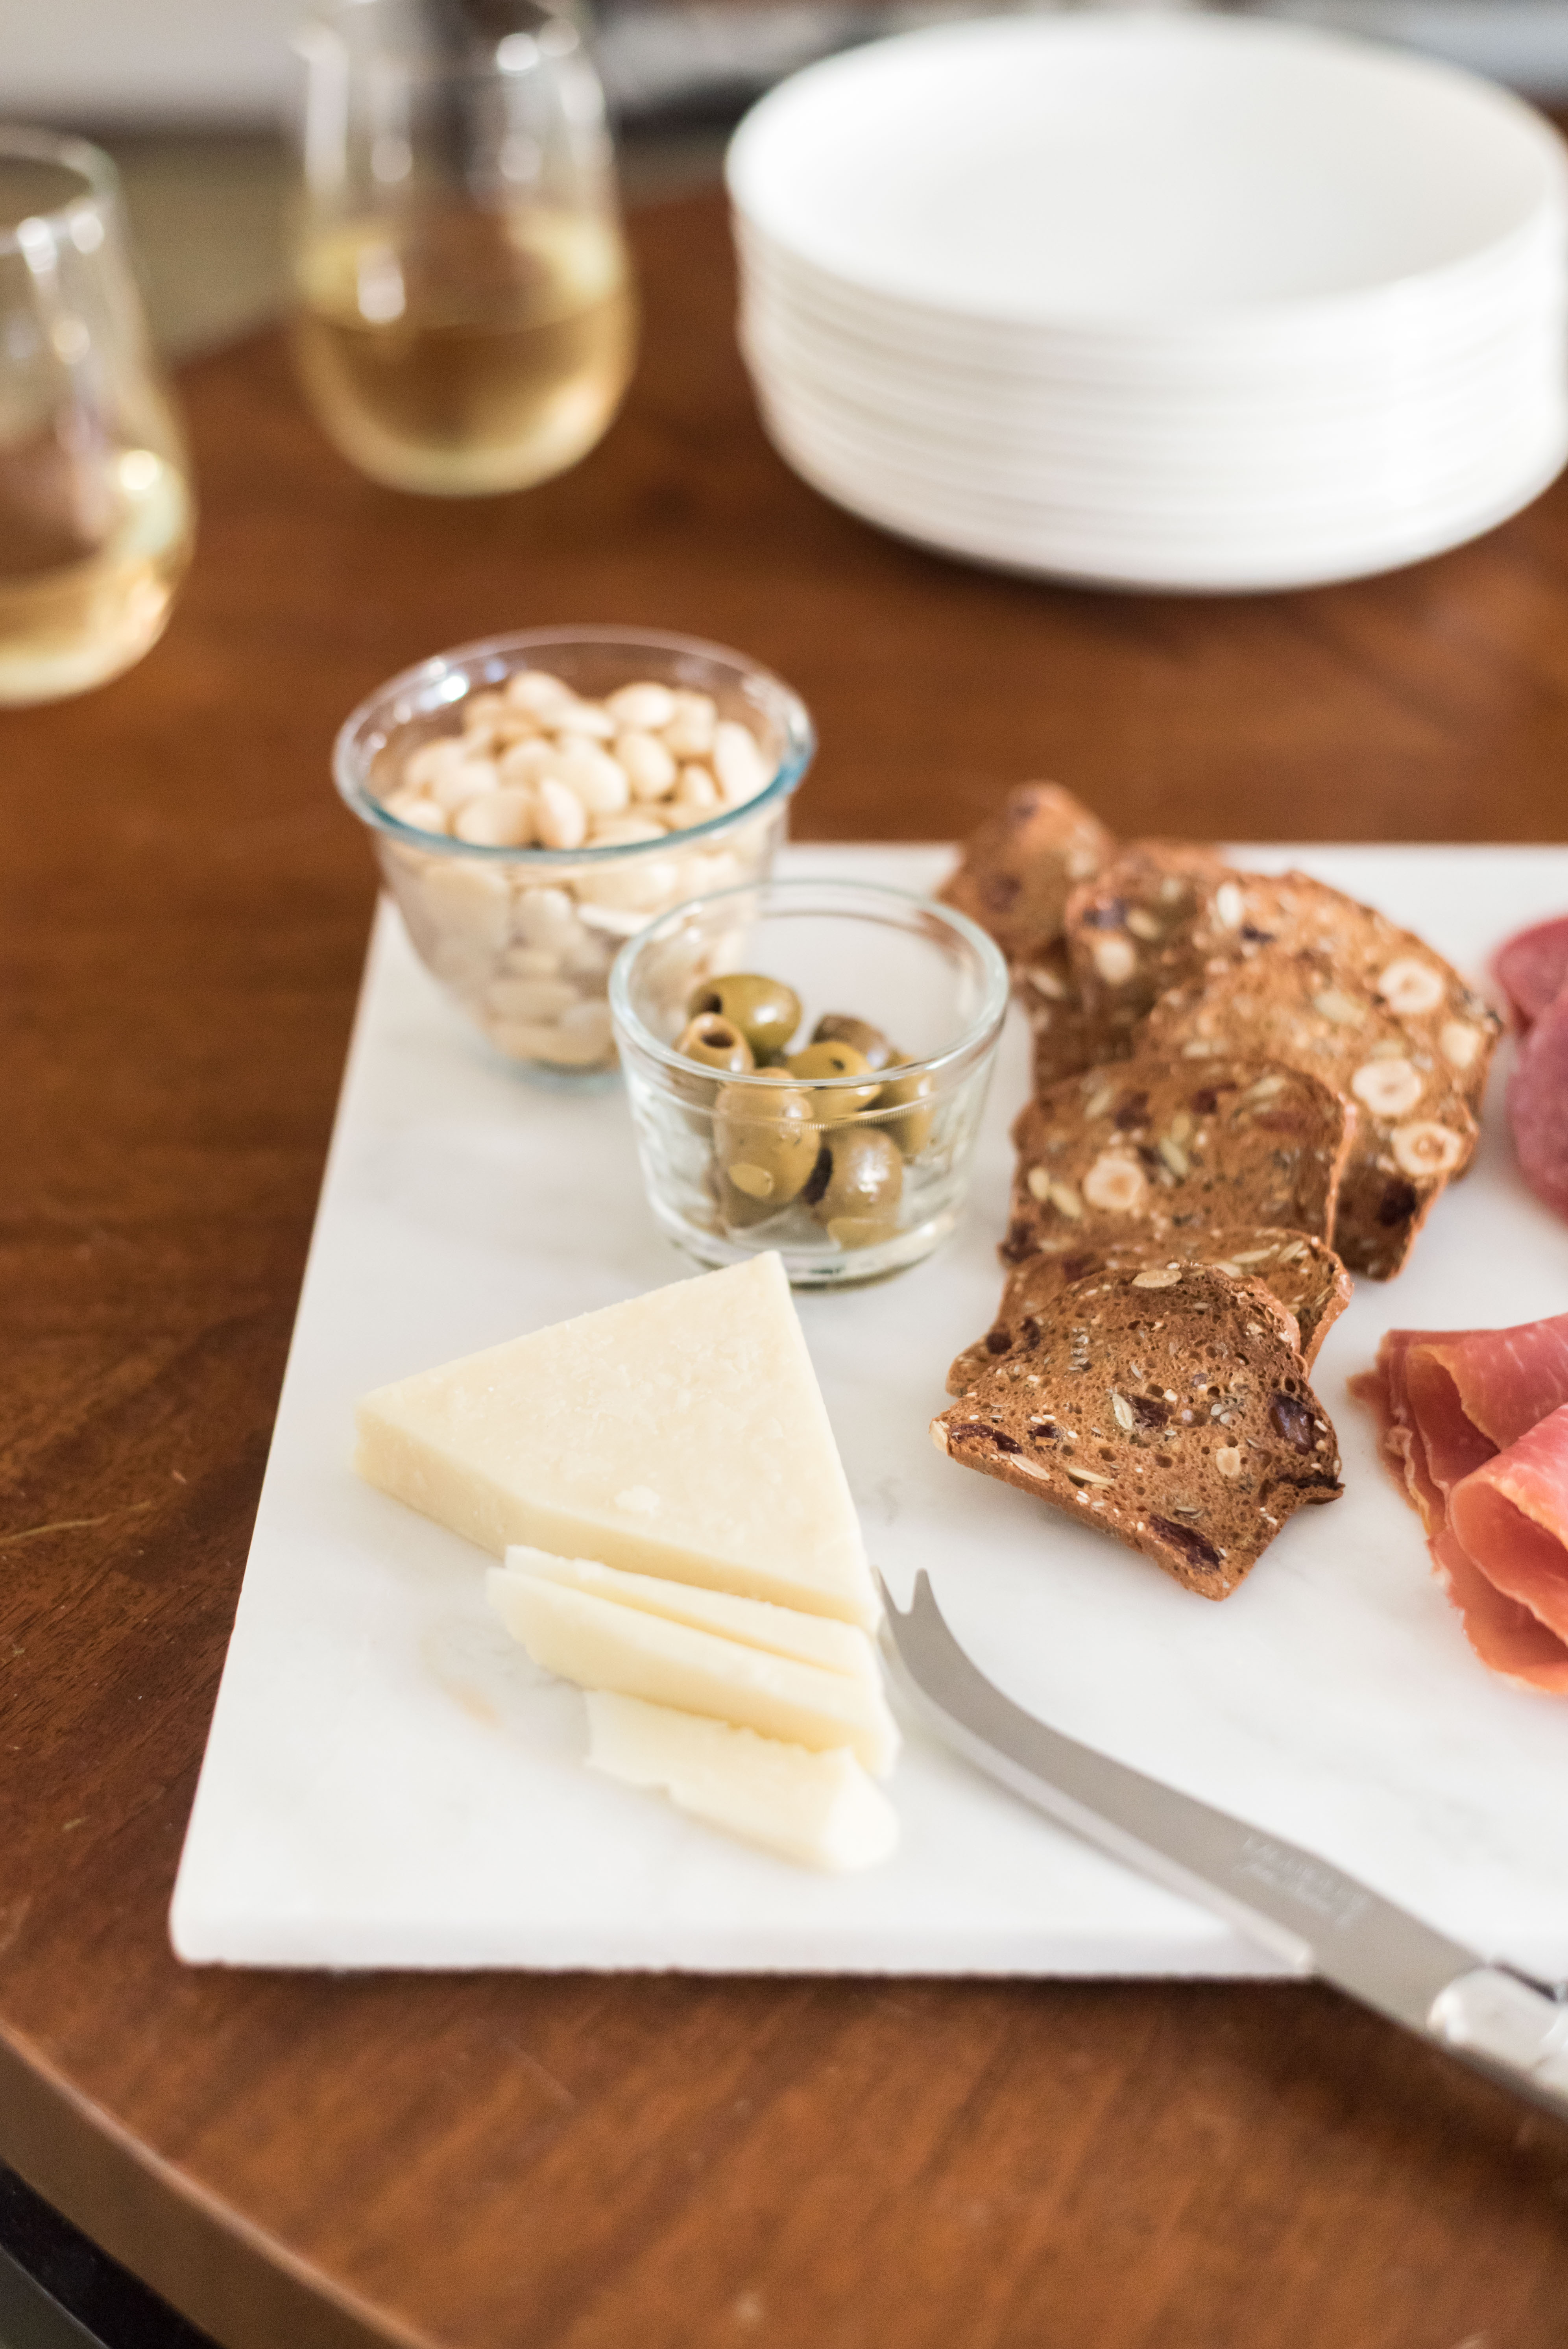
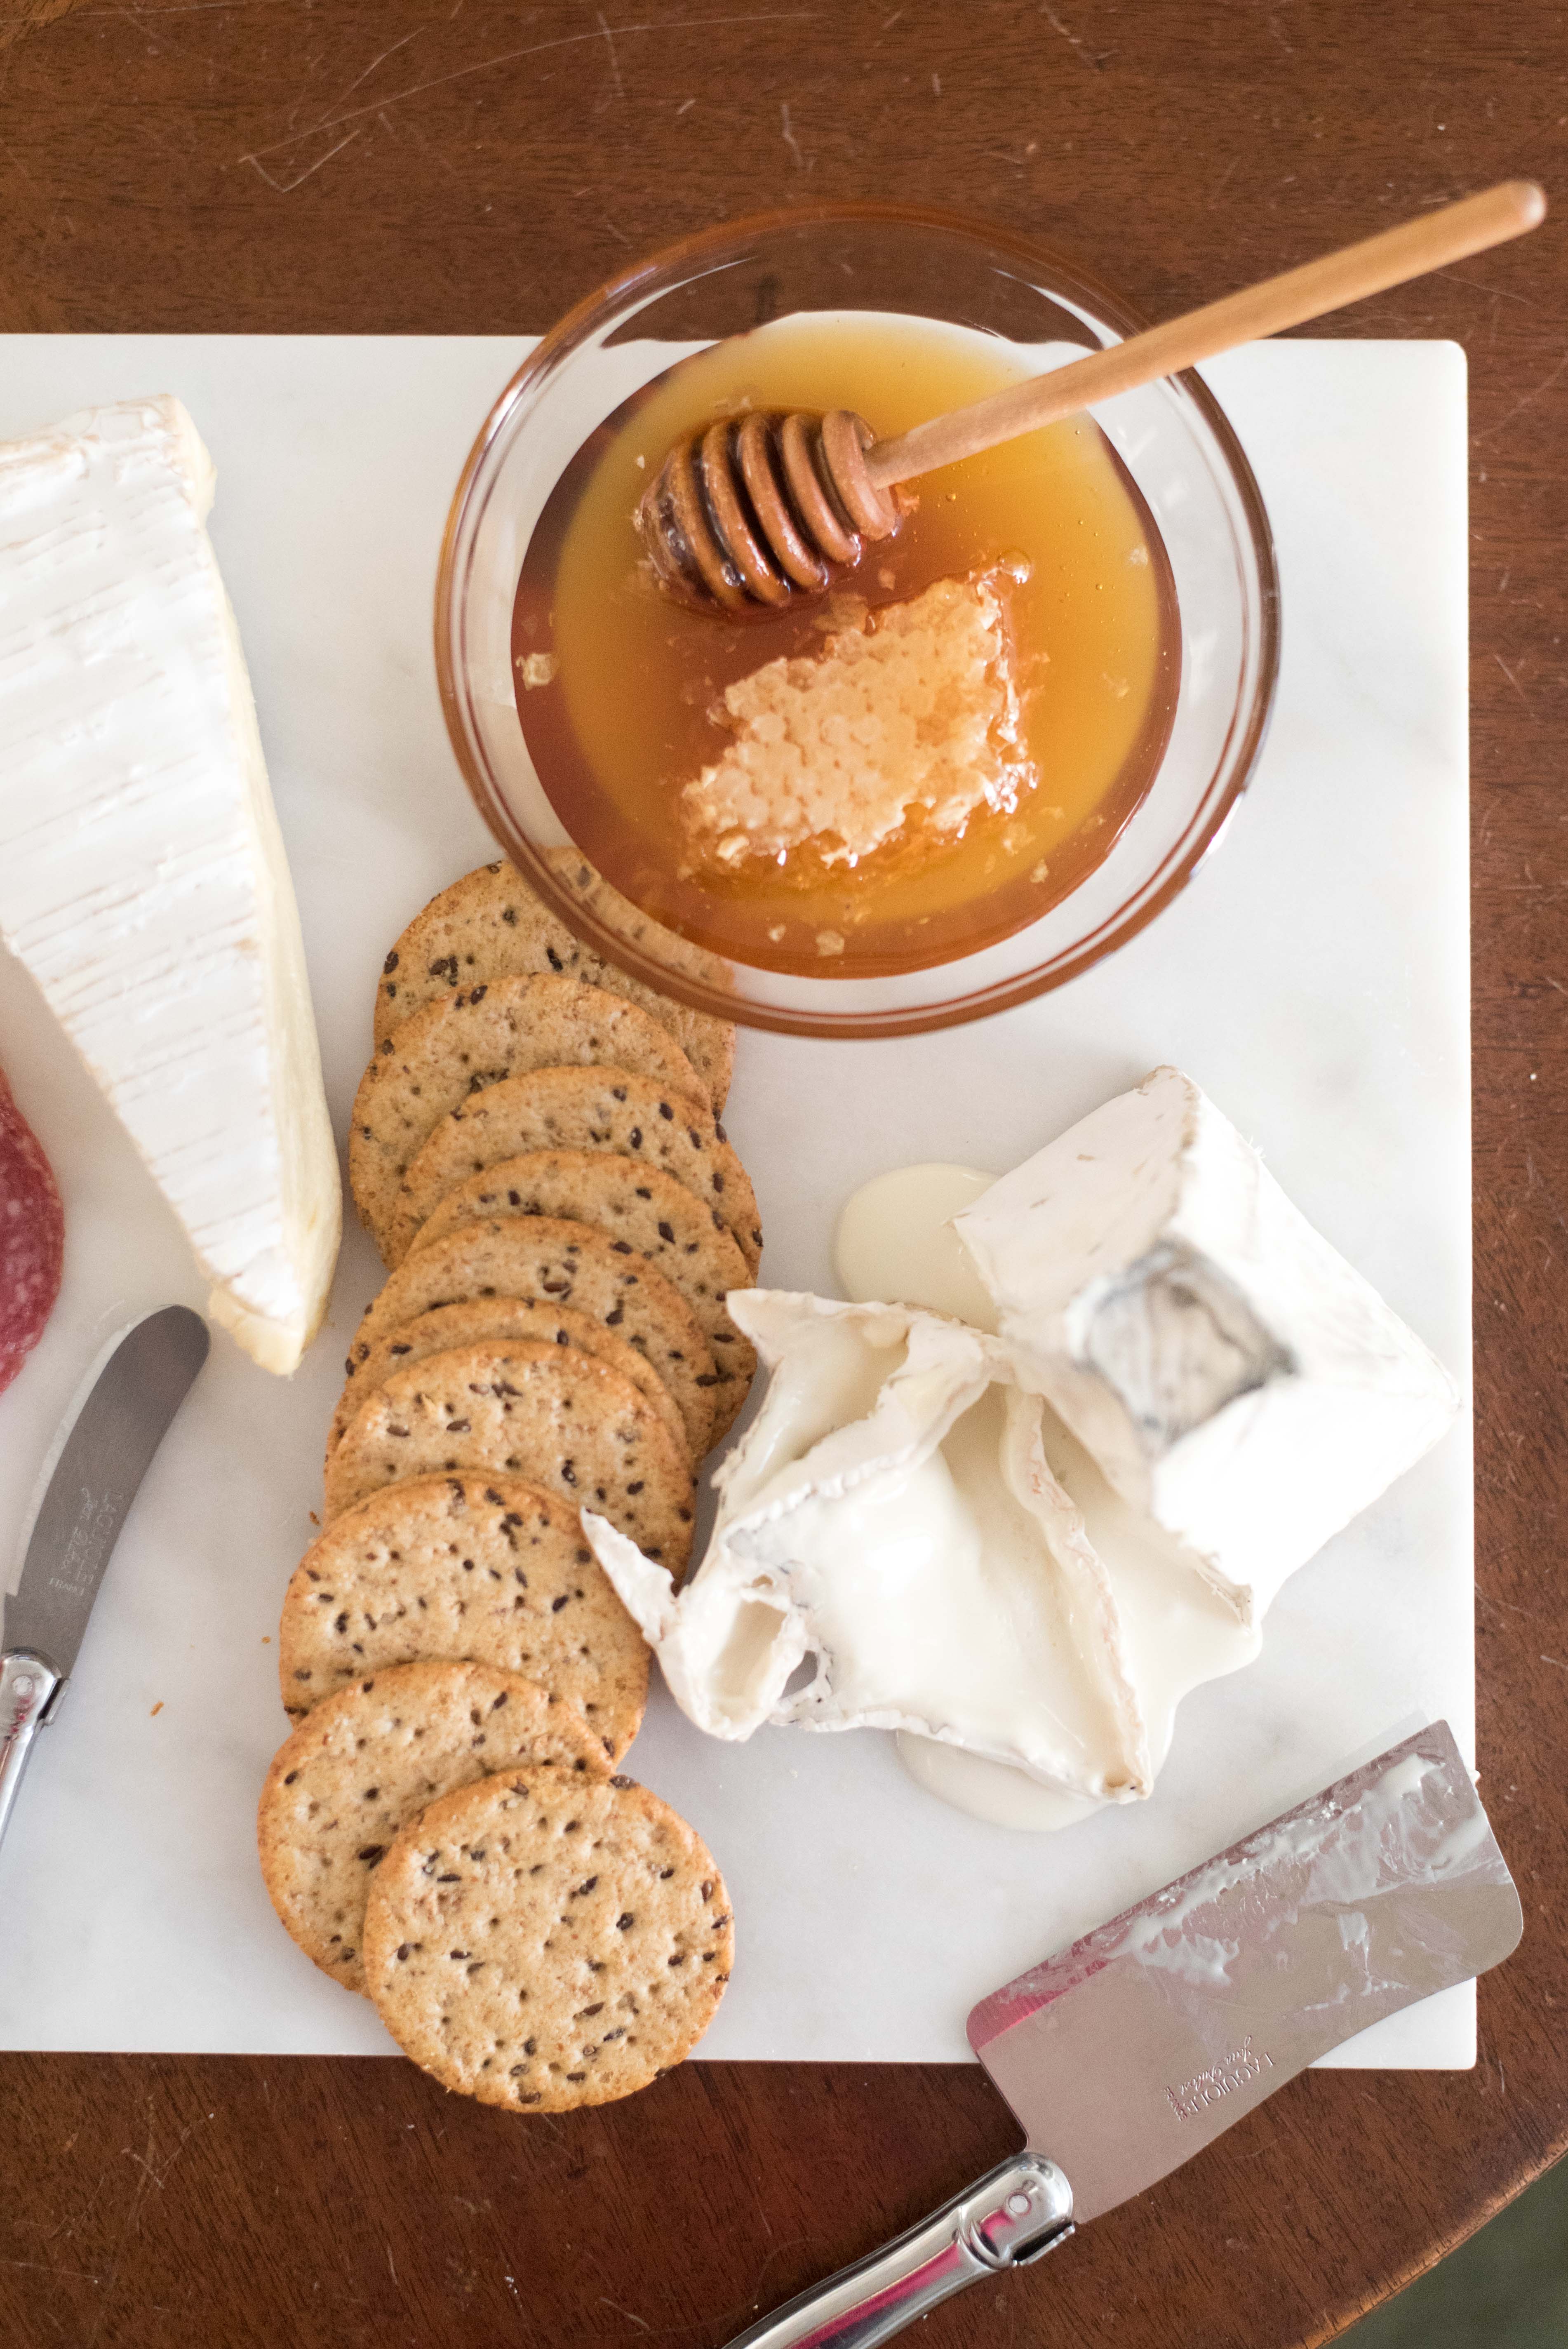
Make sure you have a knife for each cheese. I, for one, do not like finding a knife that’s caked with three different types of cheese on it. You don’t have to have fancy cheese knives. A serrated knife (think steak knife) works best for harder cheeses, and a butter knife is great for soft cheeses.
Speaking of knives, I can go either way on the presliced vs. whole wedges debate. If I have a large group, I often preslice all of the cheese for two reasons. One is to control how much cheese each person takes per bite, and the other is to speed up the time someone spends in front of the board (no one likes waiting behind that guy who spends 8 minutes cutting slices of cheese). If I’m keeping the wedges of cheese whole, I cut a few slices off of each one. For some reason, people don’t like to be the first person to mess up a perfect wedge. I also remove at least one side of inedible rinds for ease of slicing.
For a small group, a stack of napkins will usually suffice because people will hang around the cheese and take a bite at a time. For a large group, small plates are helpful for moving people along. Consider putting the cheese somewhere out of your path because people will crowd around it!

Cheese selection
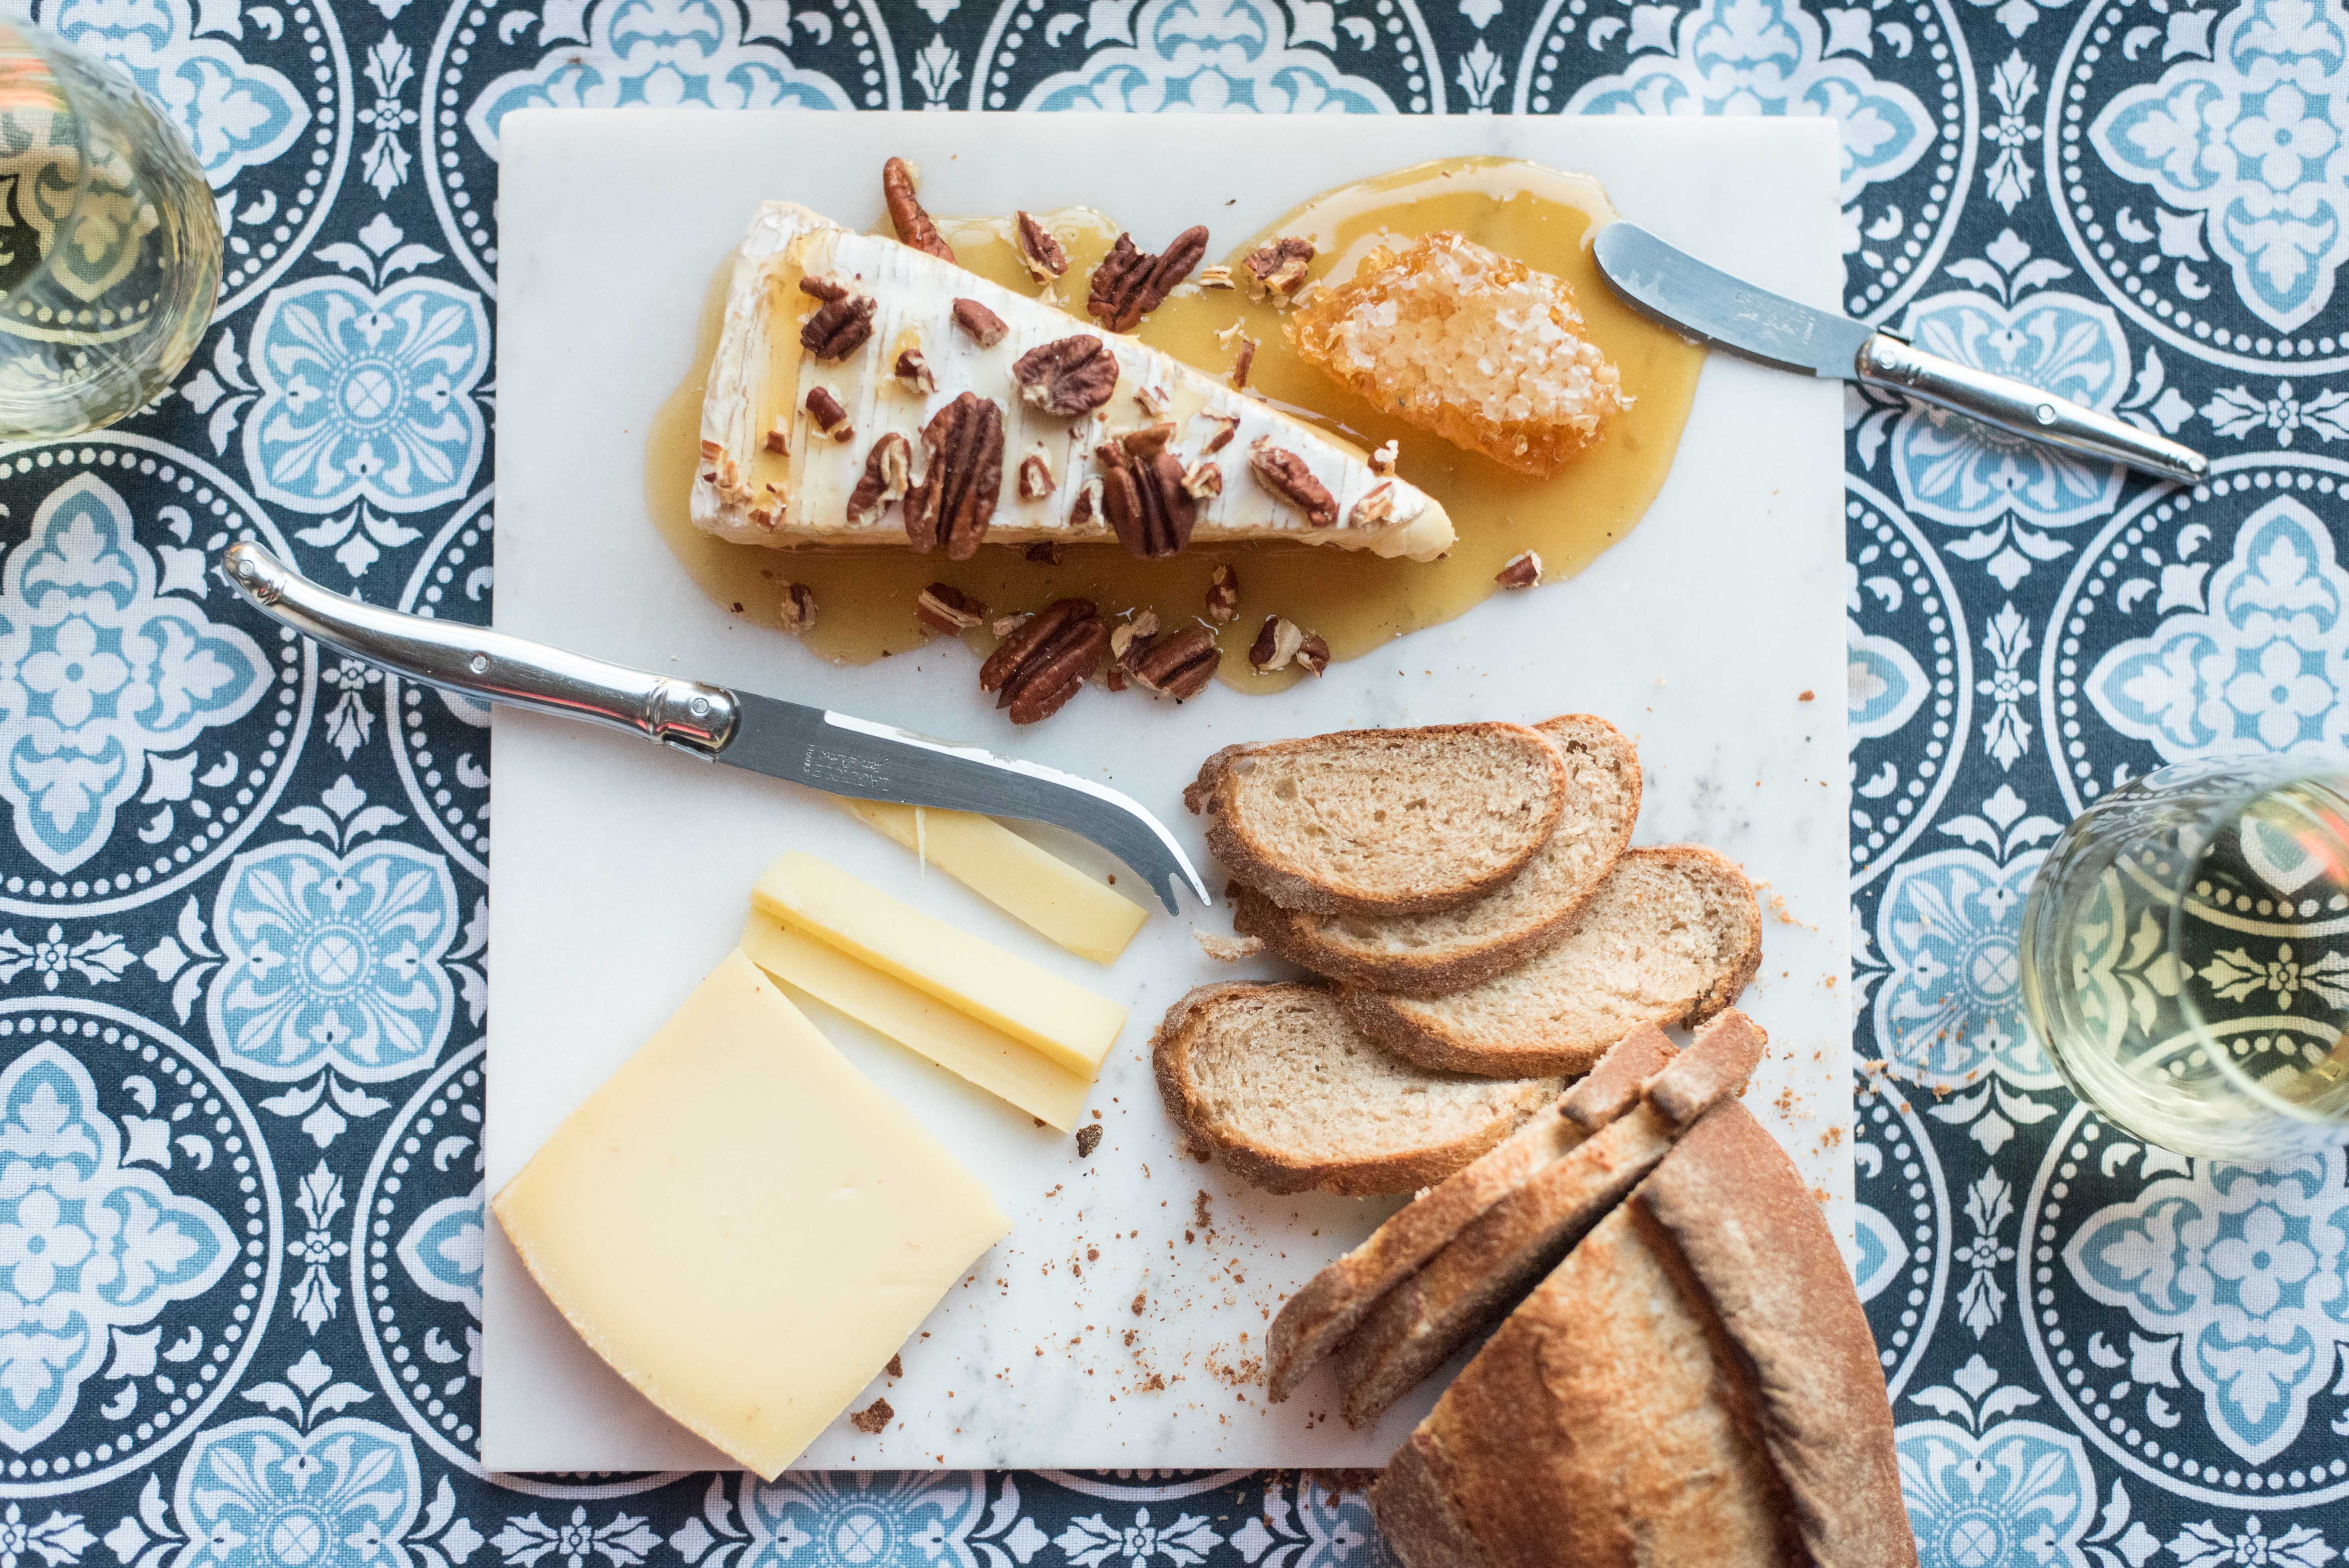
As a general rule, I typically buy about one ounce of cheese for each guest. So that’d be about one pound for 16 people for a pre-dinner appetizer. If it’s a party with only light hors d’oeuvres, I might go up to 1.5 ounces per person. Try to limit your selection to 3-5 cheeses maximum. Any more than that, and your guests will get overwhelmed.
In my experience, some crowd favorites are:
Manchego
Pecorino Romano
Parmigiano Reggiano
Chevre (fresh goat cheese)
Brie
Gruyere or Comté
Aged cheddar
I aim for variety in two ways: in texture (soft, semi-firm, hard) and in milk (cow, goat, sheep). That isn’t a rule, just a guideline if you’re having trouble narrowing down your selection. An example plate would be:
- Pecorino (hard, sheep’s milk)
- Aged cheddar (semi-hard, cow’s milk)
- Chevre (soft, goat’s milk)
I don’t think labels are 100% necessary, but it is nice to let people know what they’re eating. You can go super basic and just write “brie,” or you can get more specific with the brand name, origin, and milk type: “Brie de Meaux, France, cow.” In a pinch, a notepad next to the plate with a list of the cheeses will do.
Accompaniments
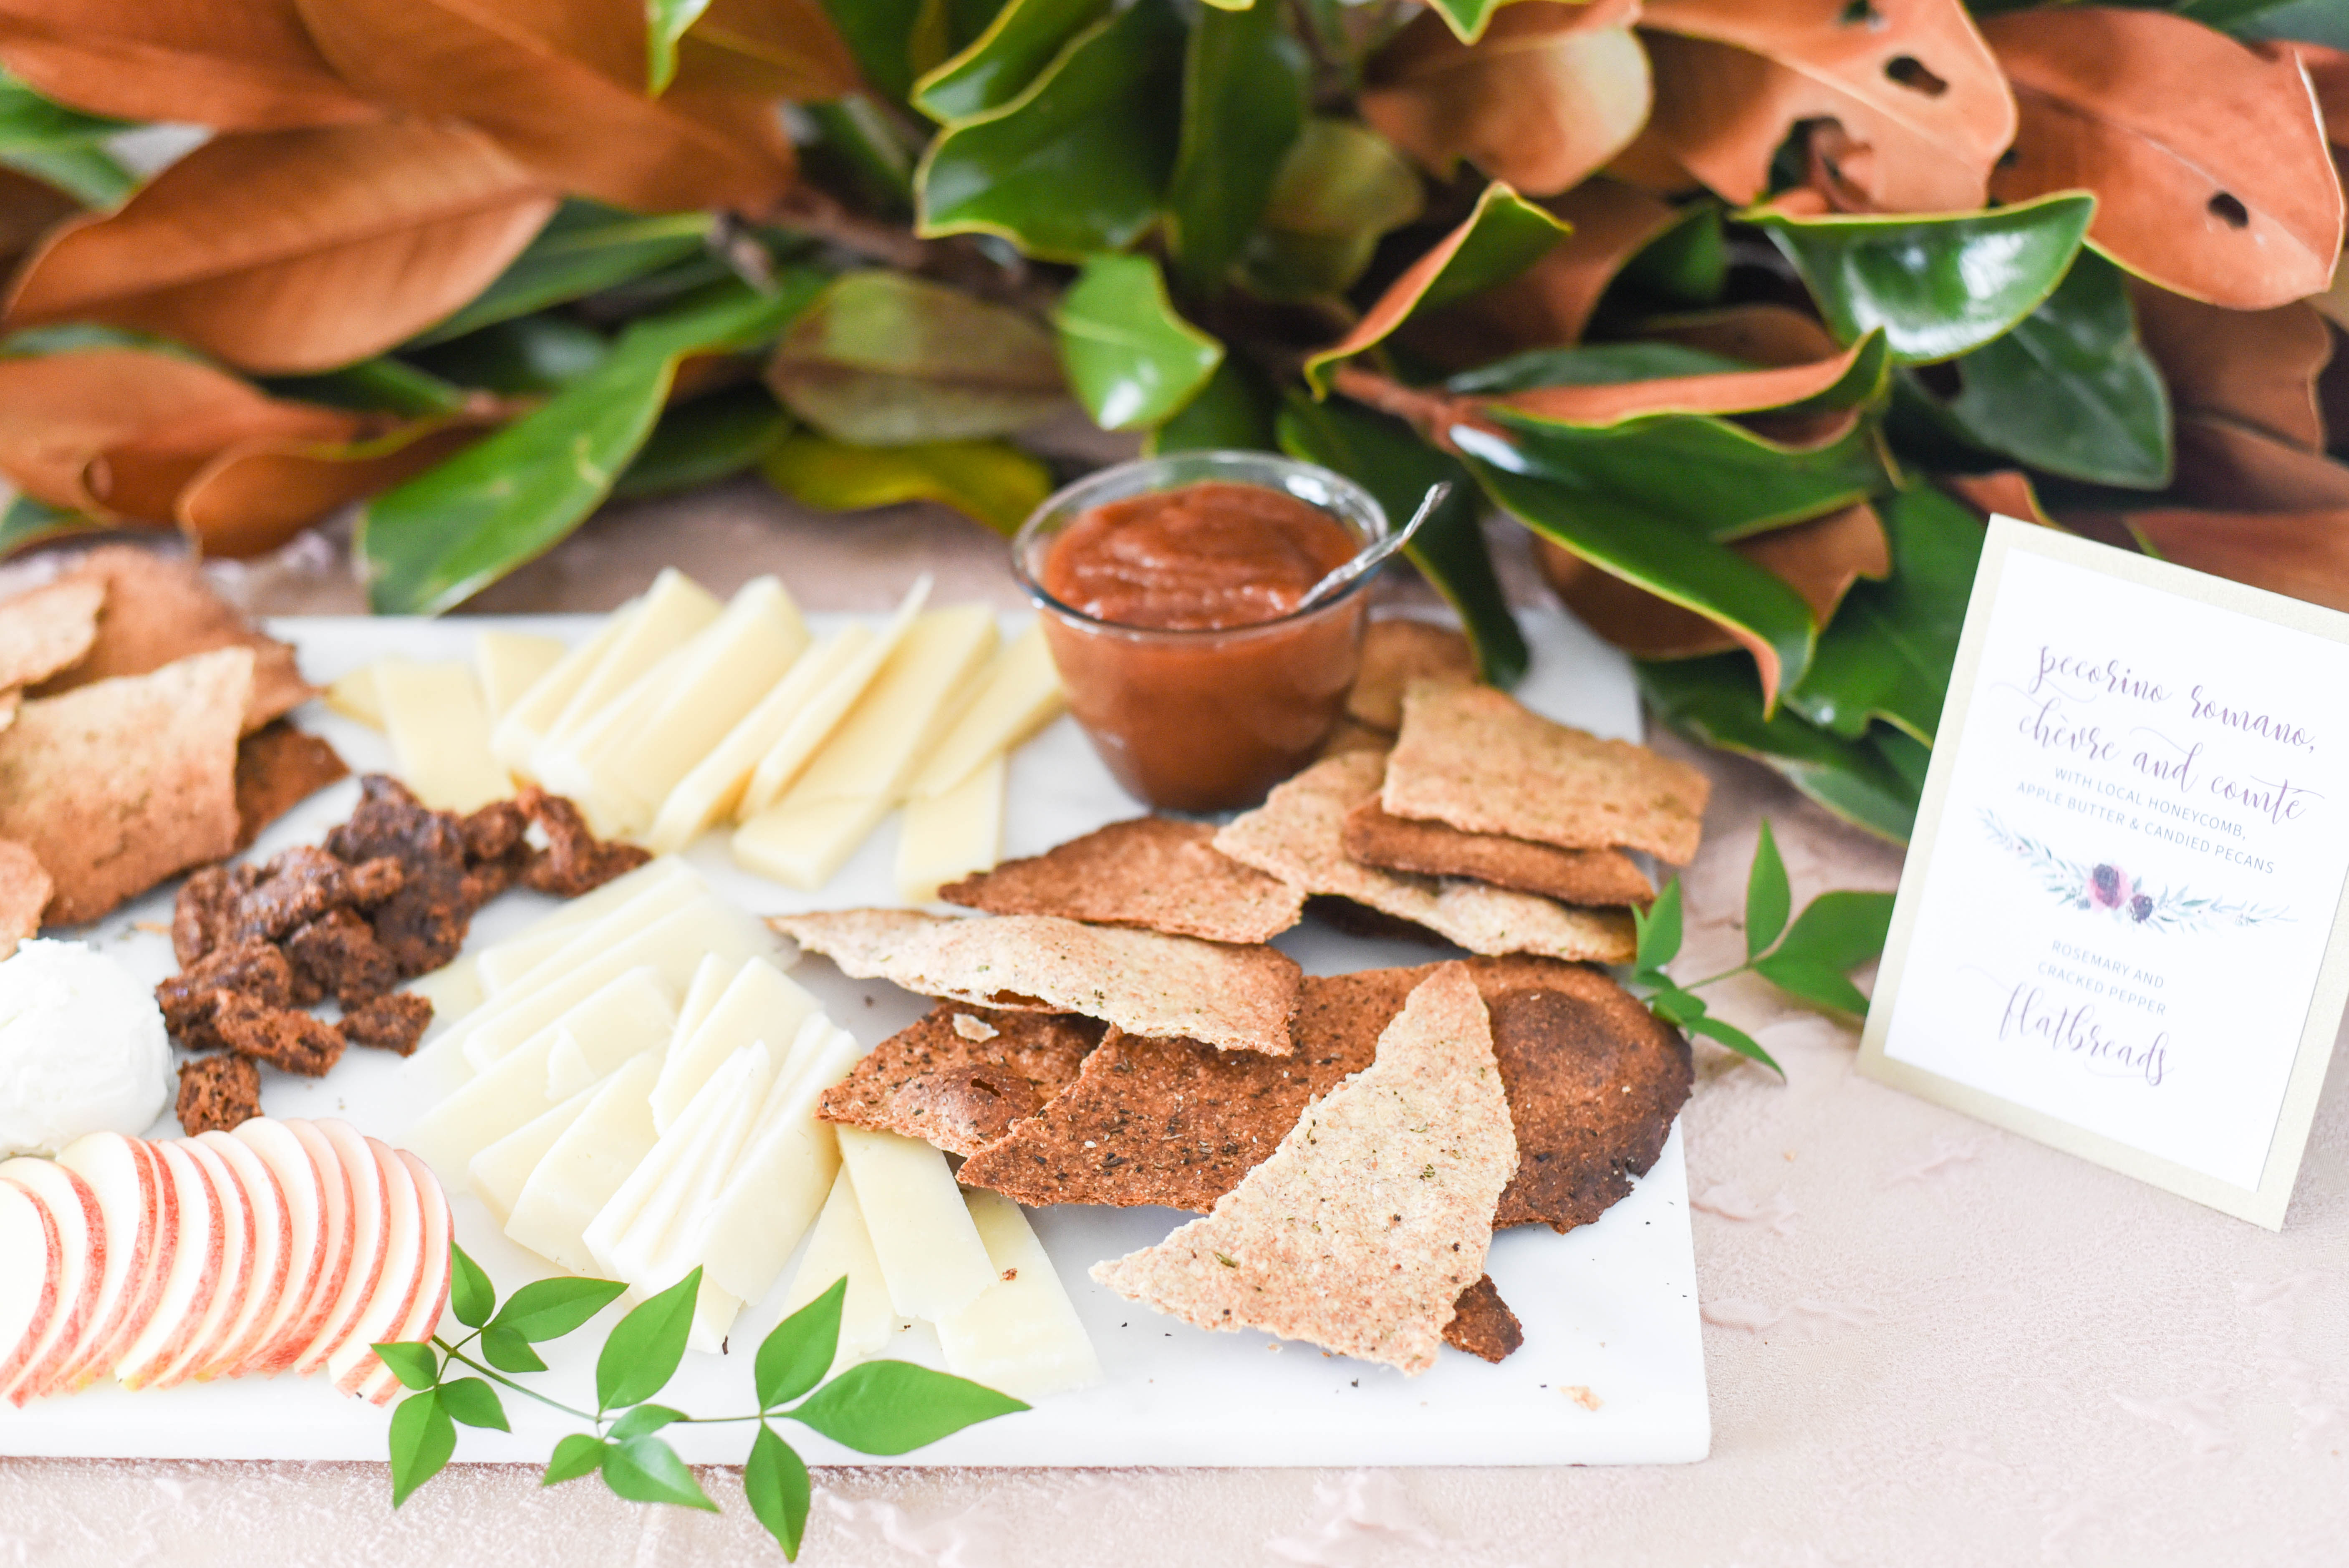
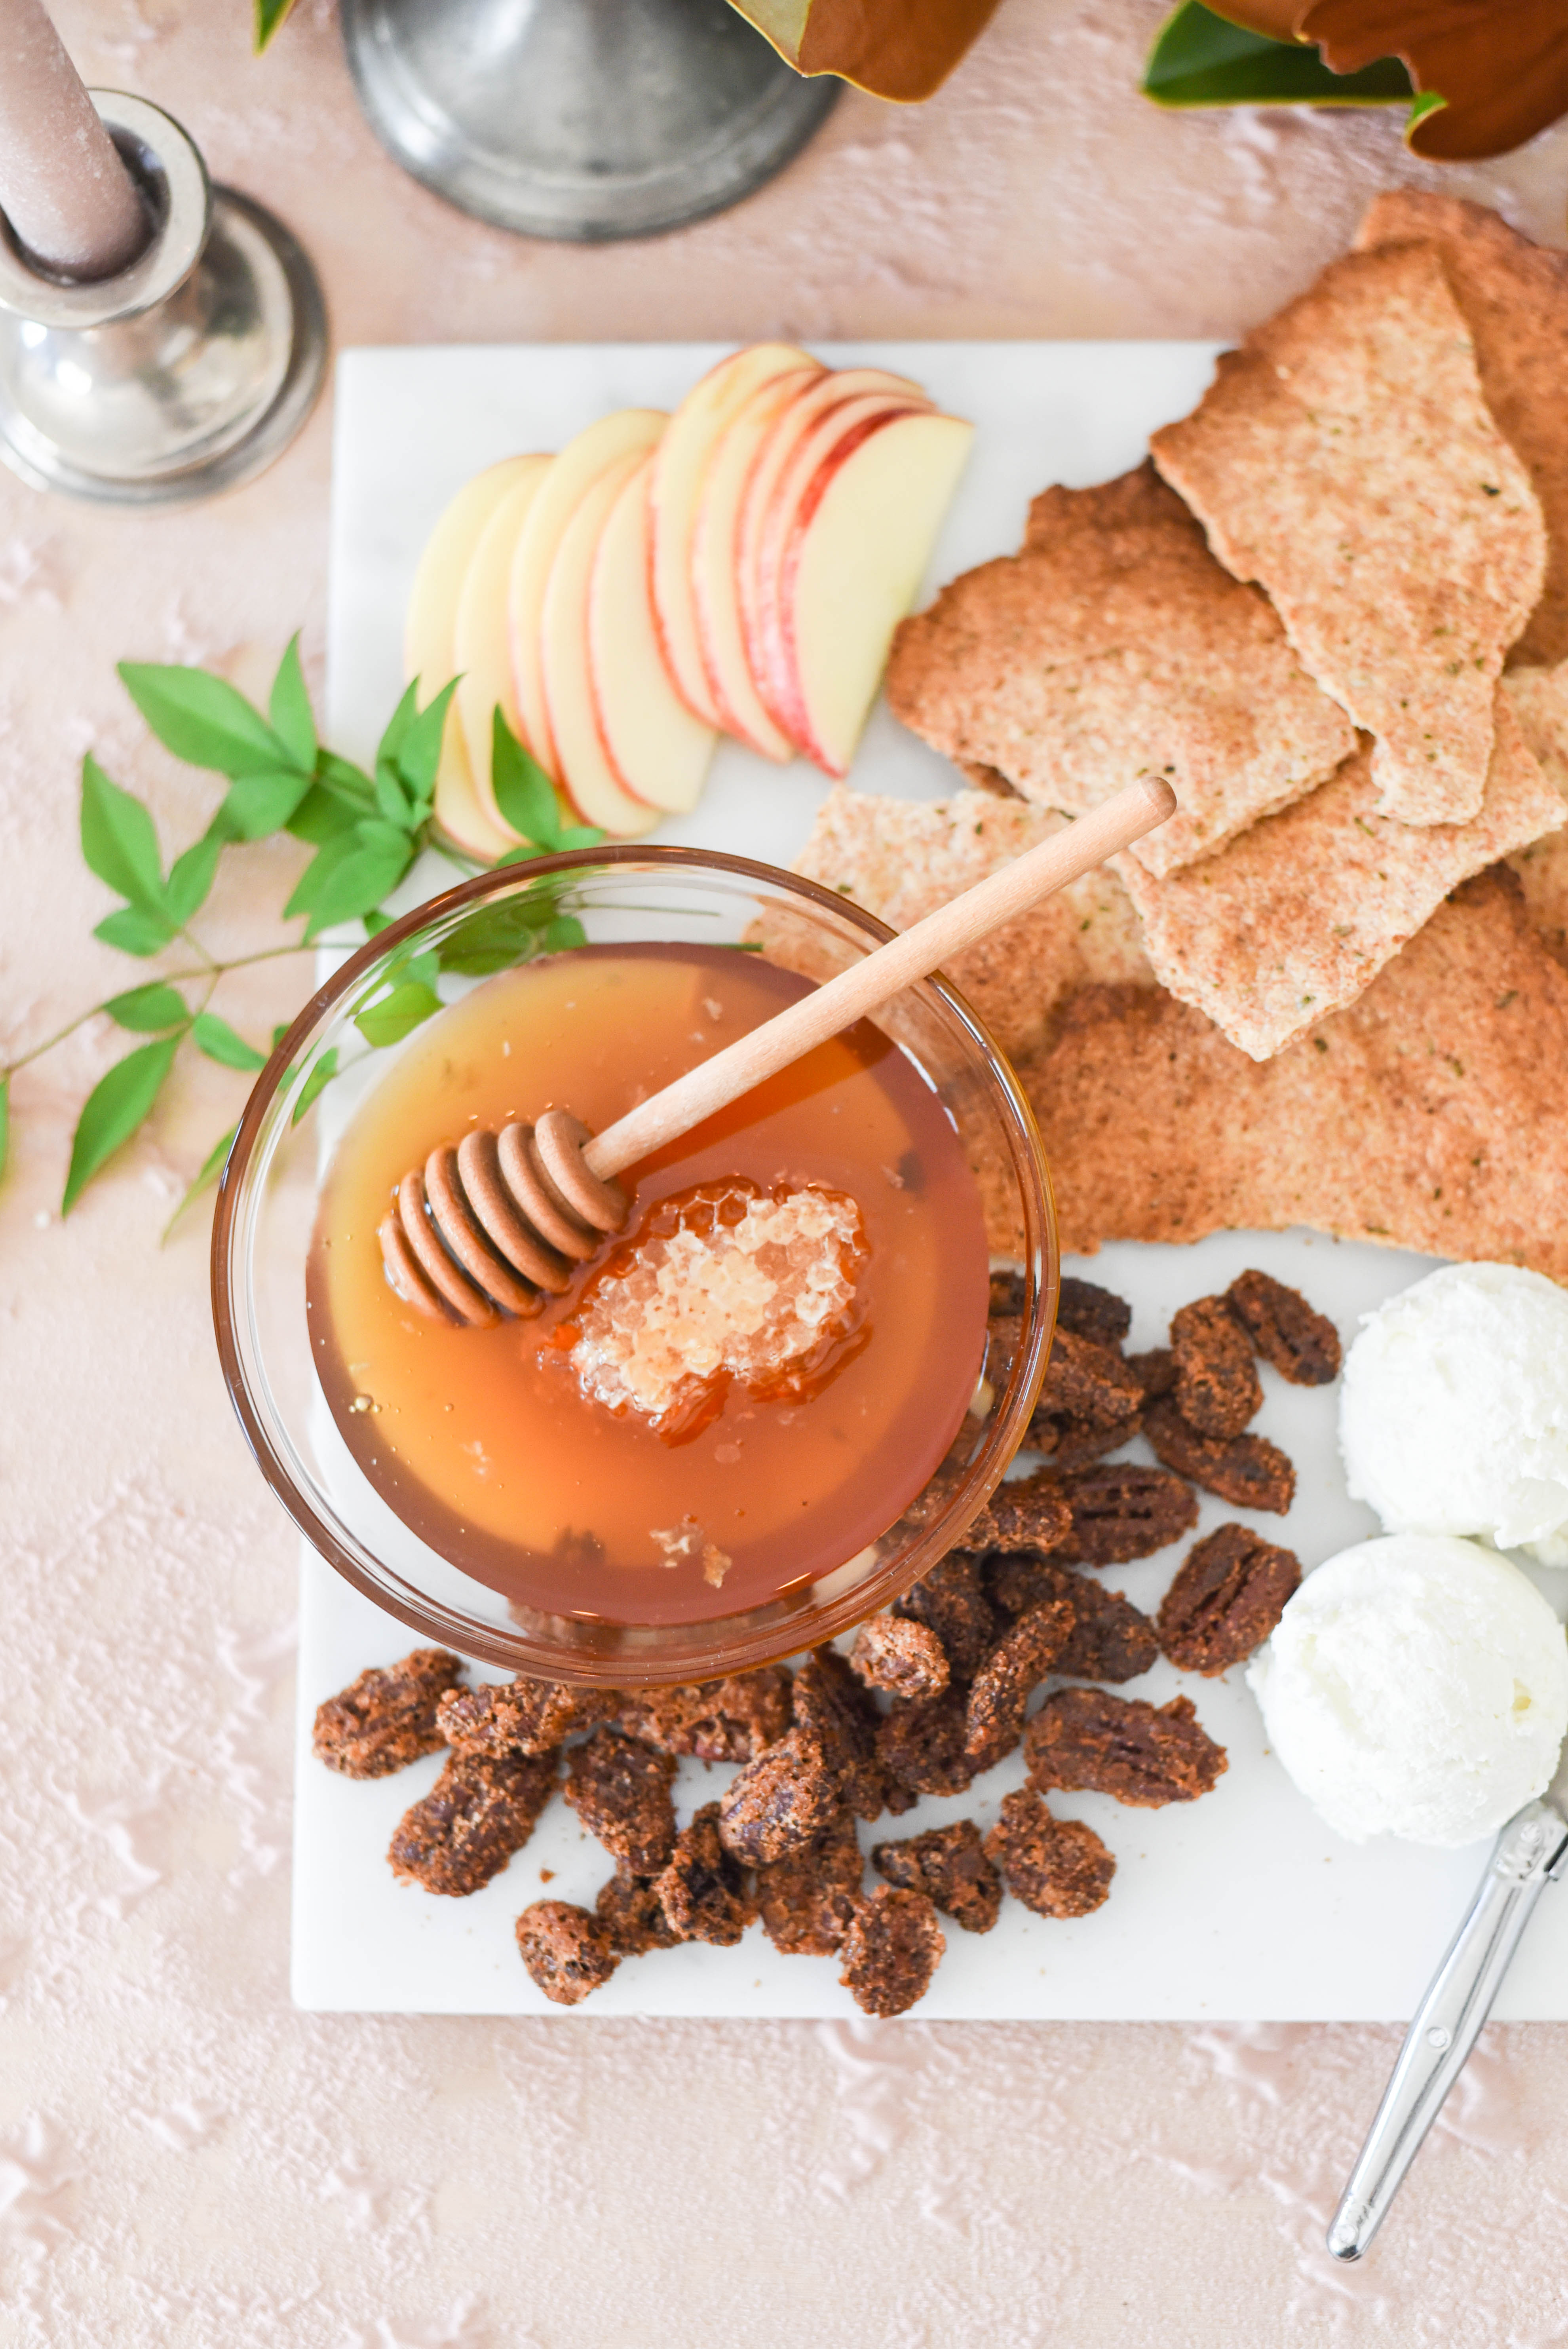
If nothing else, I always try to have some sort of carb as a vehicle for the cheese. My standbys are a sliced/torn baguette, toasted sourdough, crackers, flatbreads, or a combination of those. If you have gluten-free guests coming, consider getting gluten-free crackers (be sure to put them in a separate, labelled bowl). If you want to impress your guests, try your hand at making these rustic, whole grain flatbread crackers.
If you’re really into cheese pairings, by all means, go for it! But don’t feel like you have to put a condiment with every cheese. Put jam(s) in a small bowl with a spoon and let guests mix and match themselves. Honey is my goes-with-almost-everything accompaniment. If you want to get fancy, add honey with a piece of honeycomb. If you’re at a loss for what to put with your cheese, go seasonal! Try apple butter in the fall, something citrusy in the winter, strawberry-rhubarb jam in the spring, or figs in the summer.
If you’re serving charcuterie with your cheeses, don’t plop the meat onto your board straight out of the package. Take a minute to separate the pieces from each other. Nuts, olives, small pickled vegetables, and dried or fresh fruit also make nice additions to a cheese spread. Cut grapes into small, easy to grab bunches. Coat apple slices with fresh lemon juice to keep them from browning. Most of all, have fun with it!
If you’re sufficiently overwhelmed right now, start small. You’ll be great. Happy entertaining, friends!
Need more inspiration? Check out my Southern-inspired cheese + charcuterie board for summer!

Trackbacks/Pingbacks