If there’s anything good that’s come from global climate change, it’s strawberry season starting a few weeks early this year in Georgia. The local markets (and my balcony garden!) are full of perfectly ripe and red berries! Sometimes I get a little too excited and buy more than I can eat in a few days, so I’ve learned tactics for not letting the precious berries going to waste. Y’all should know by now how much I hate food waste! It starts with picking good berries and ends with tons of berries in my freezer to eat when they’re out of season. Plus there are some great recipes for in between. You could always put up jars of strawberry jam, but I wanted to include options that don’t require special equipment.
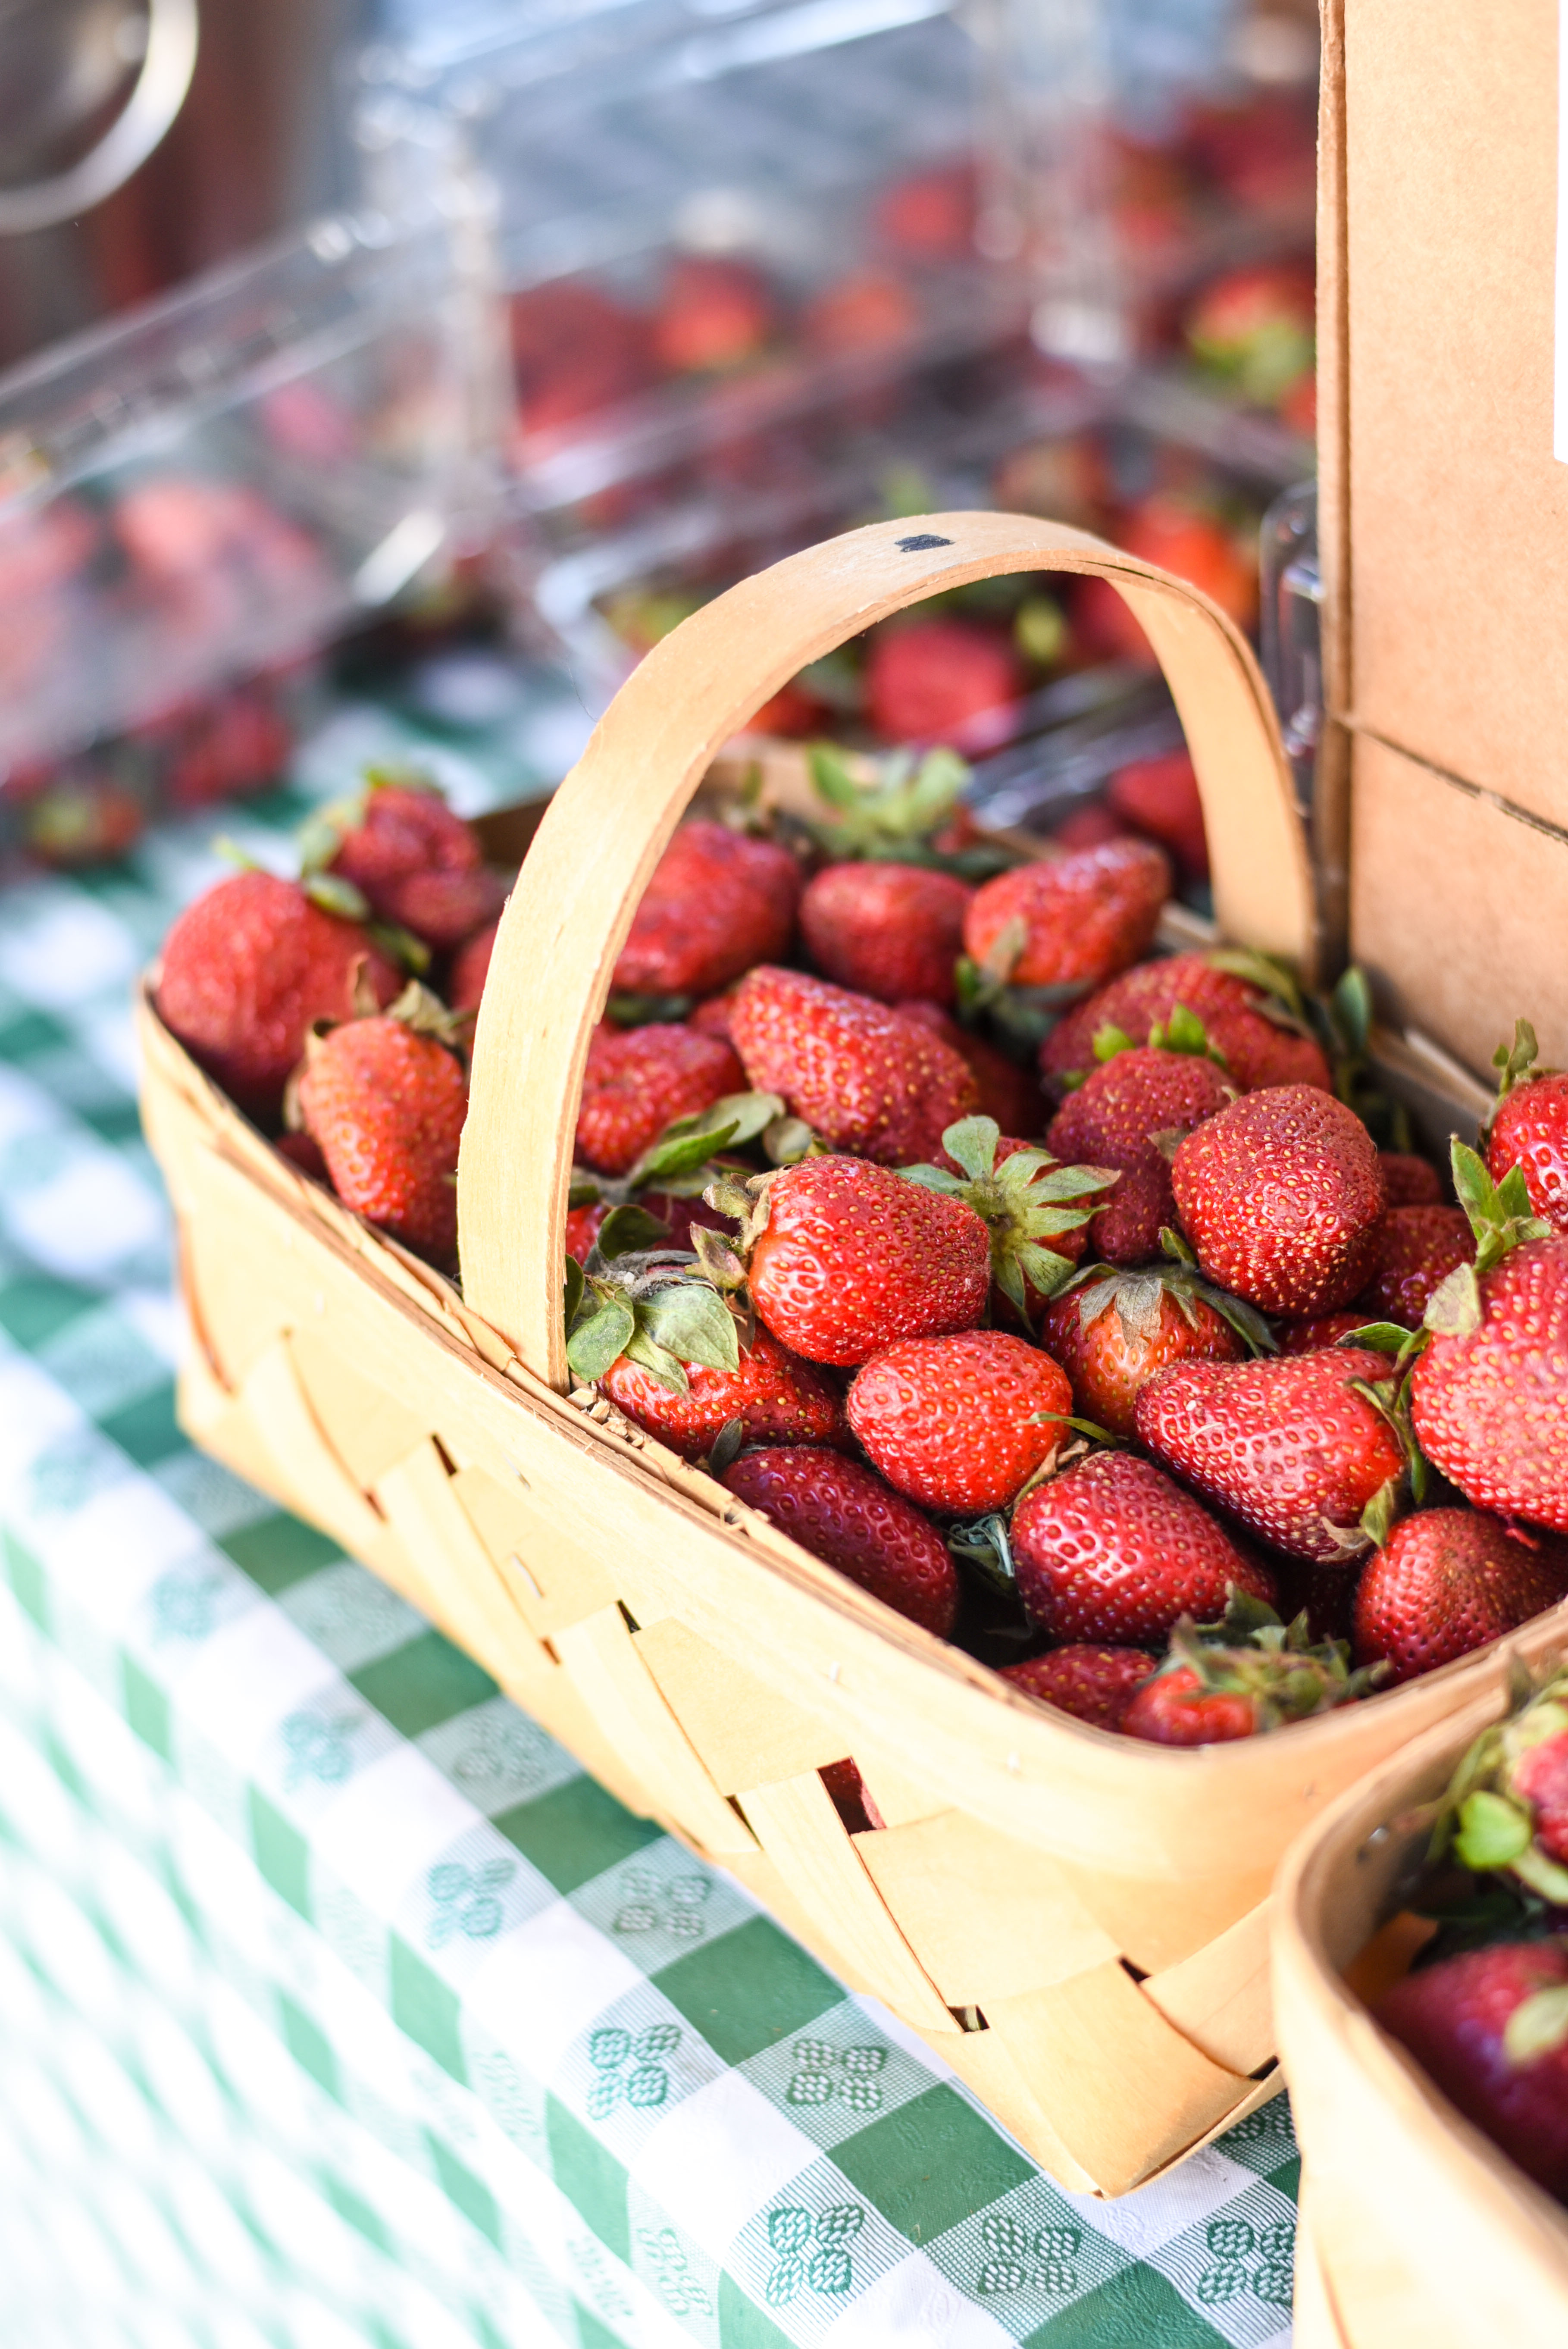
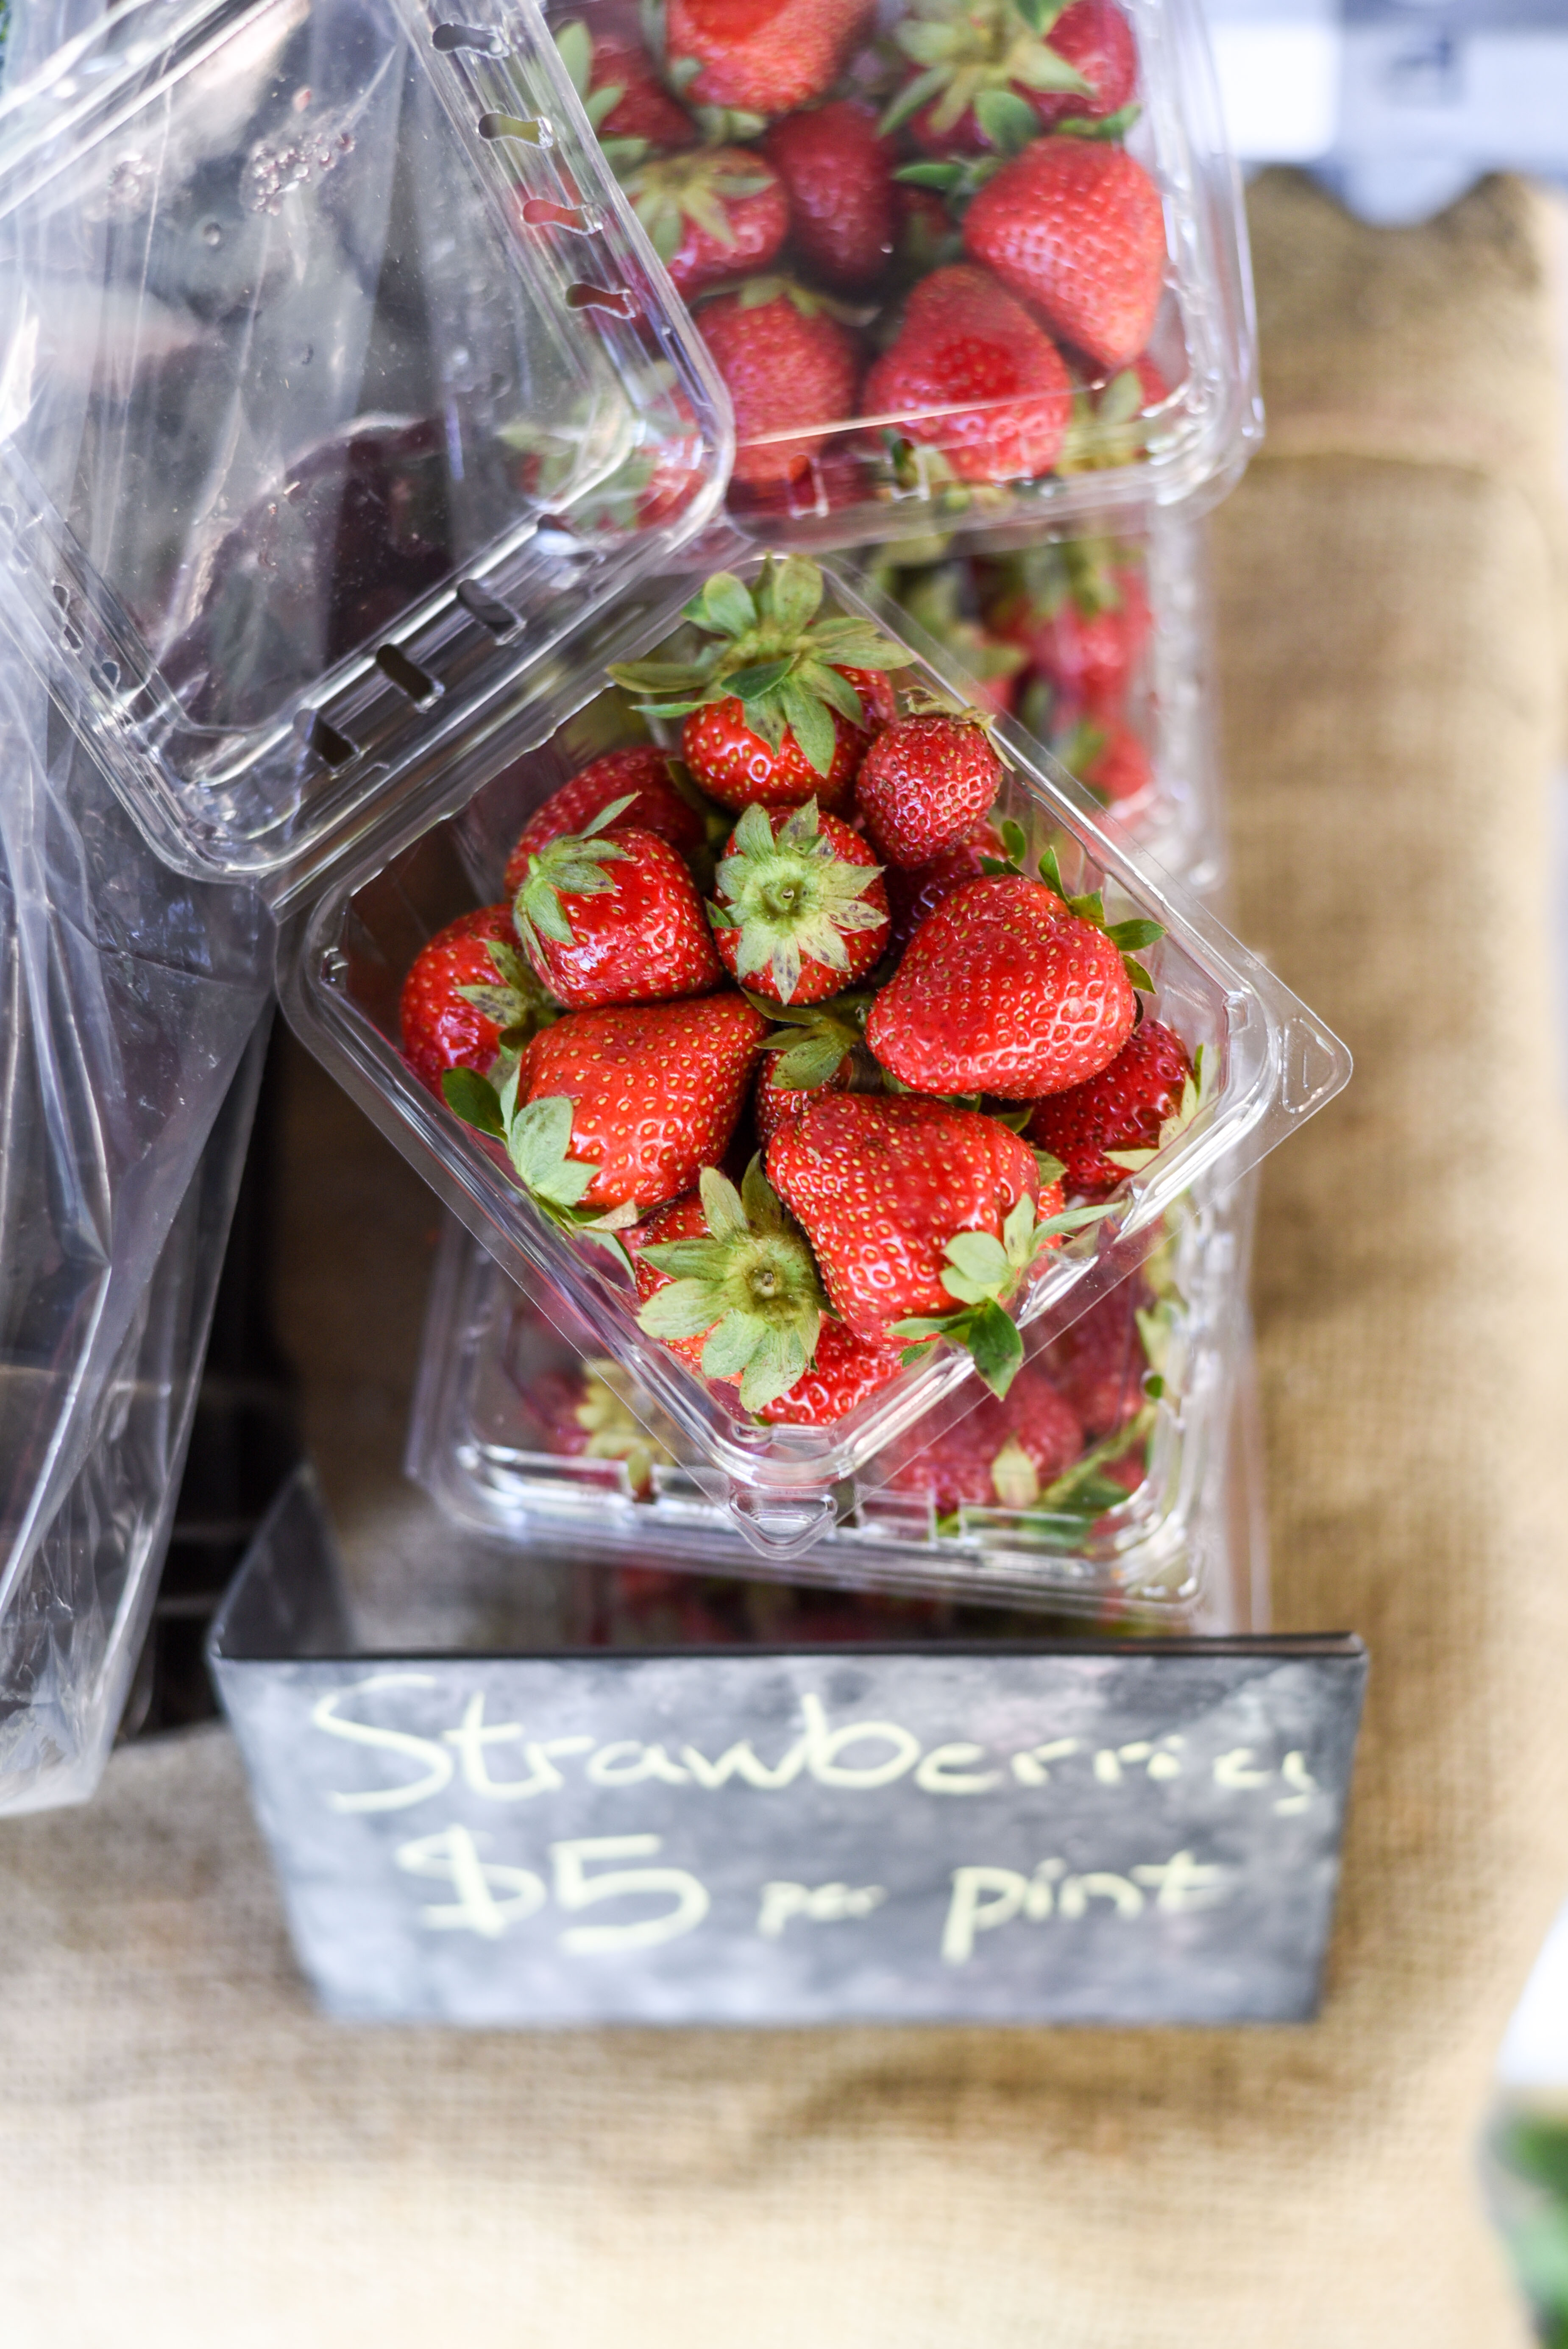
1 – start by picking good ones
When selecting strawberries at the store or market, check for three things:
- Berries red all the way up to the stem / minimal white at the top
- No moldy or bruised berries in the container — flip it over and check the bottom
- Sweet, strawberry smell — ripe berries should be very fragrant
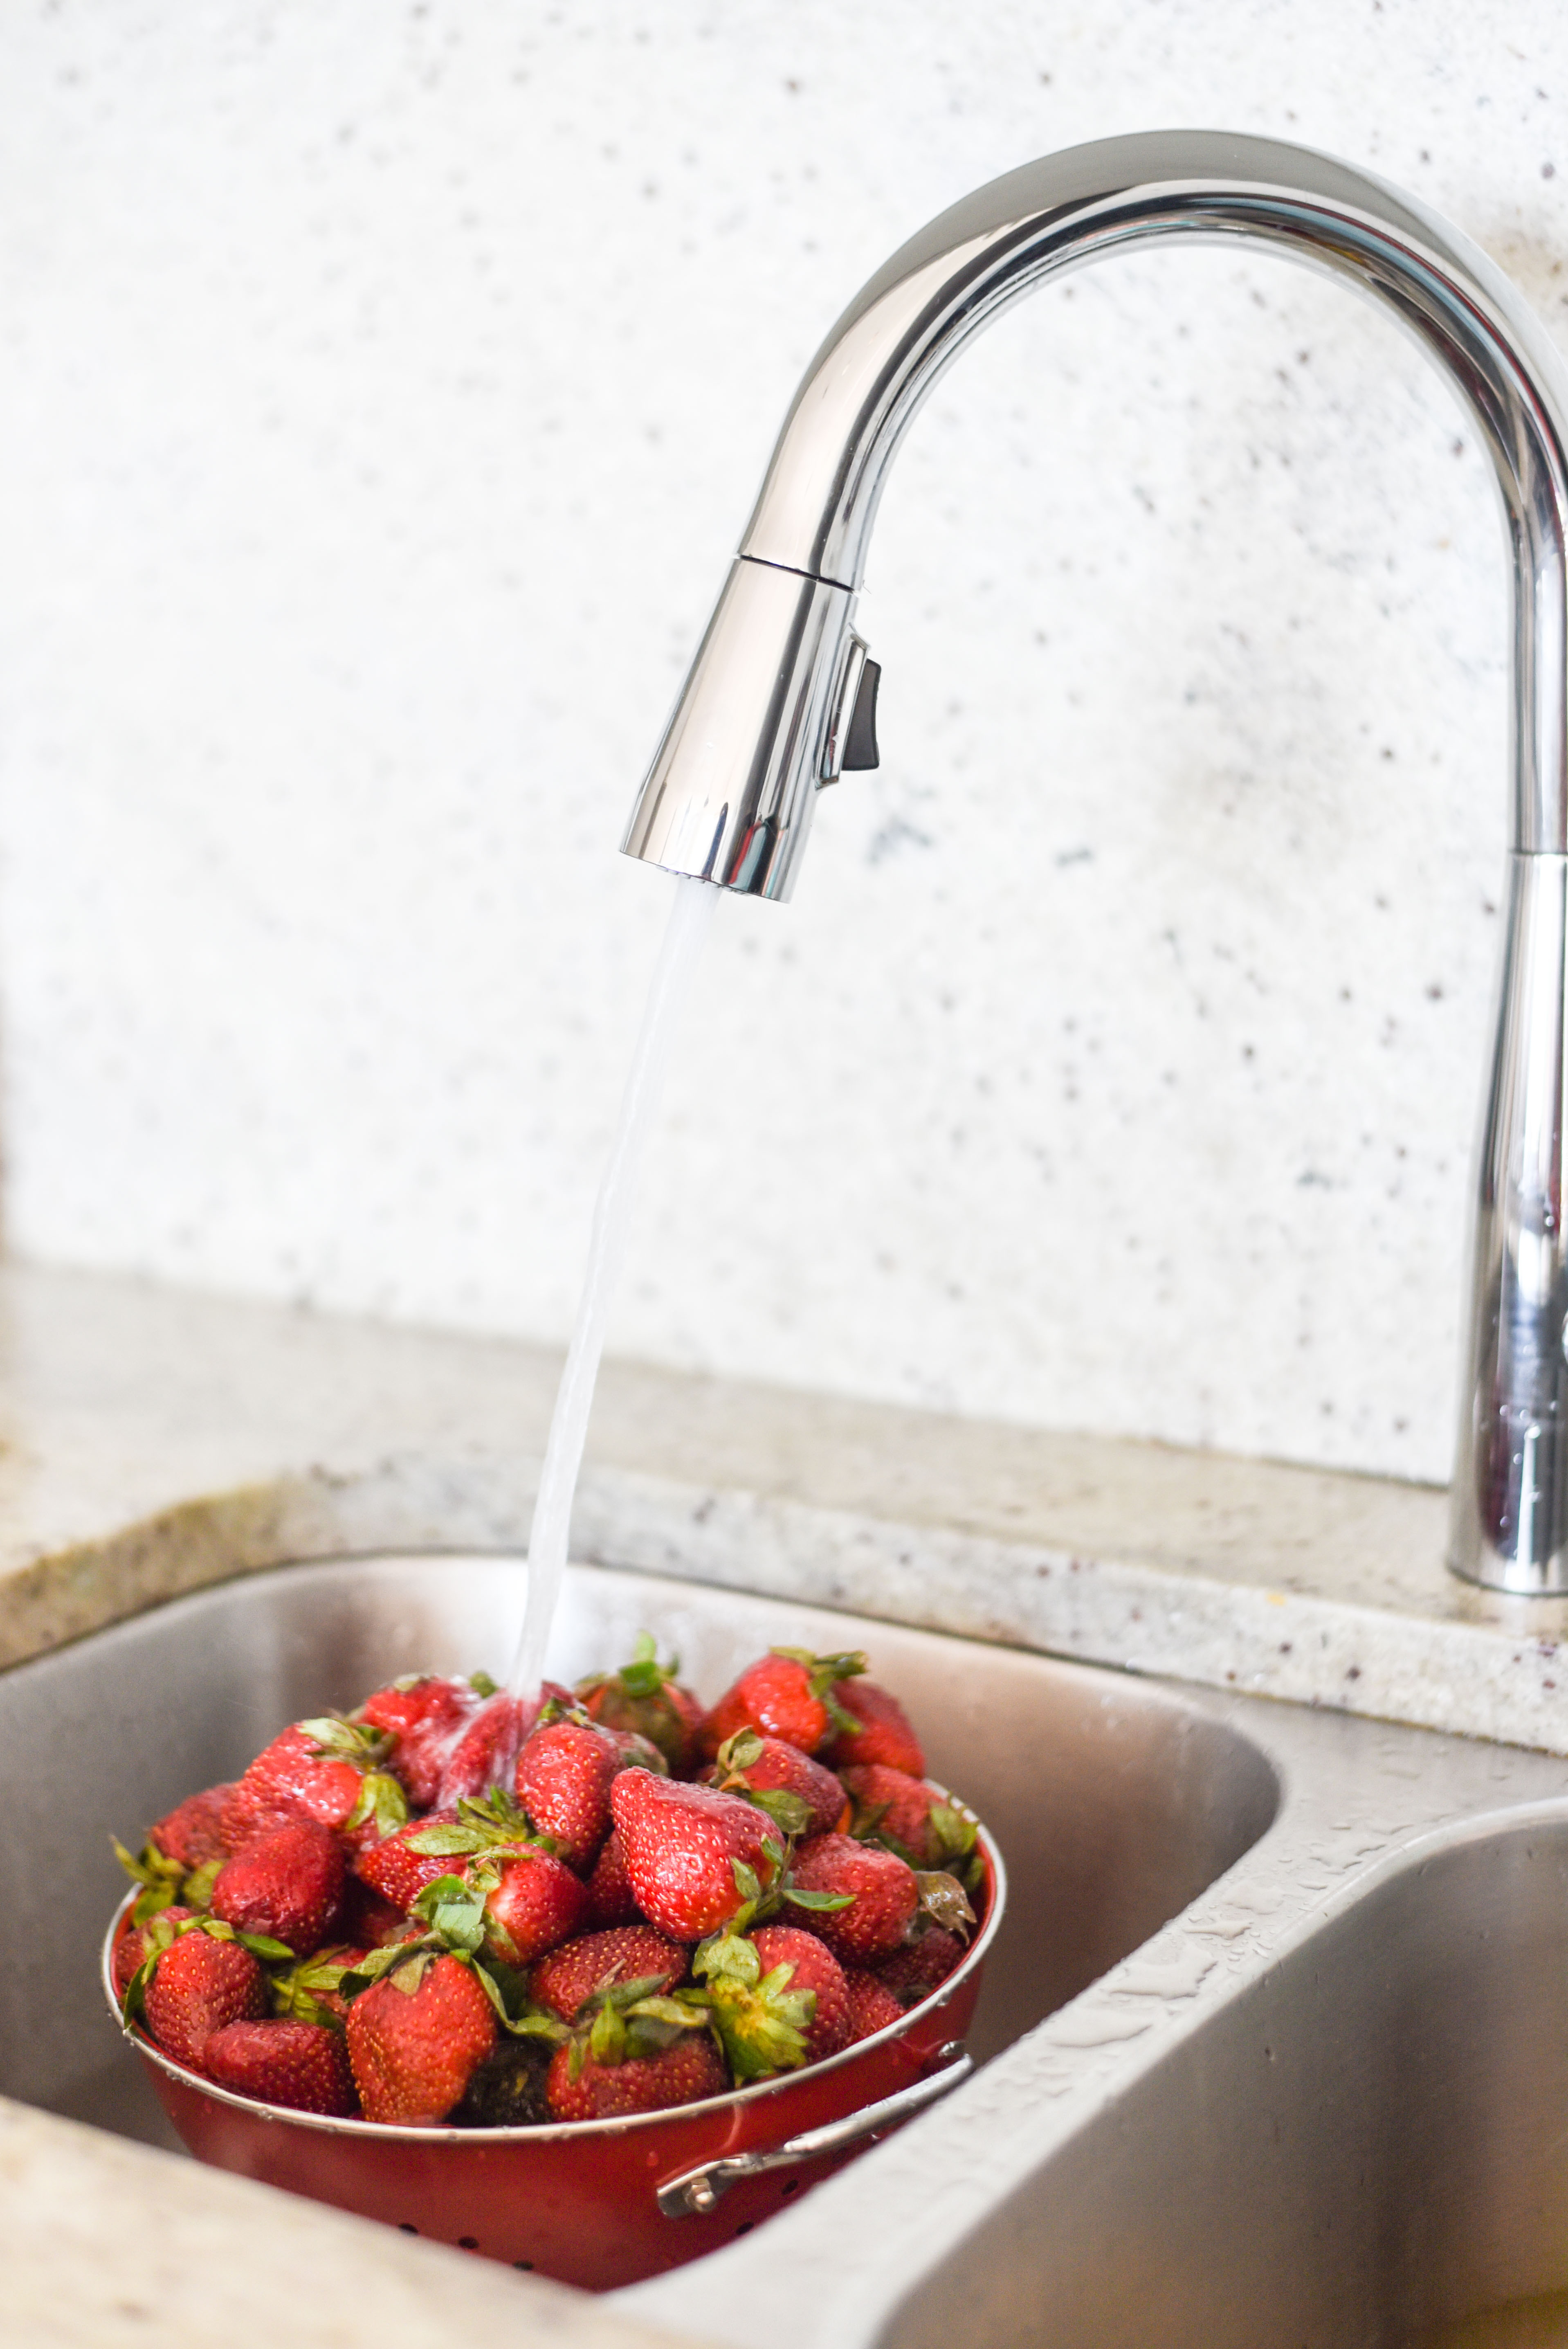
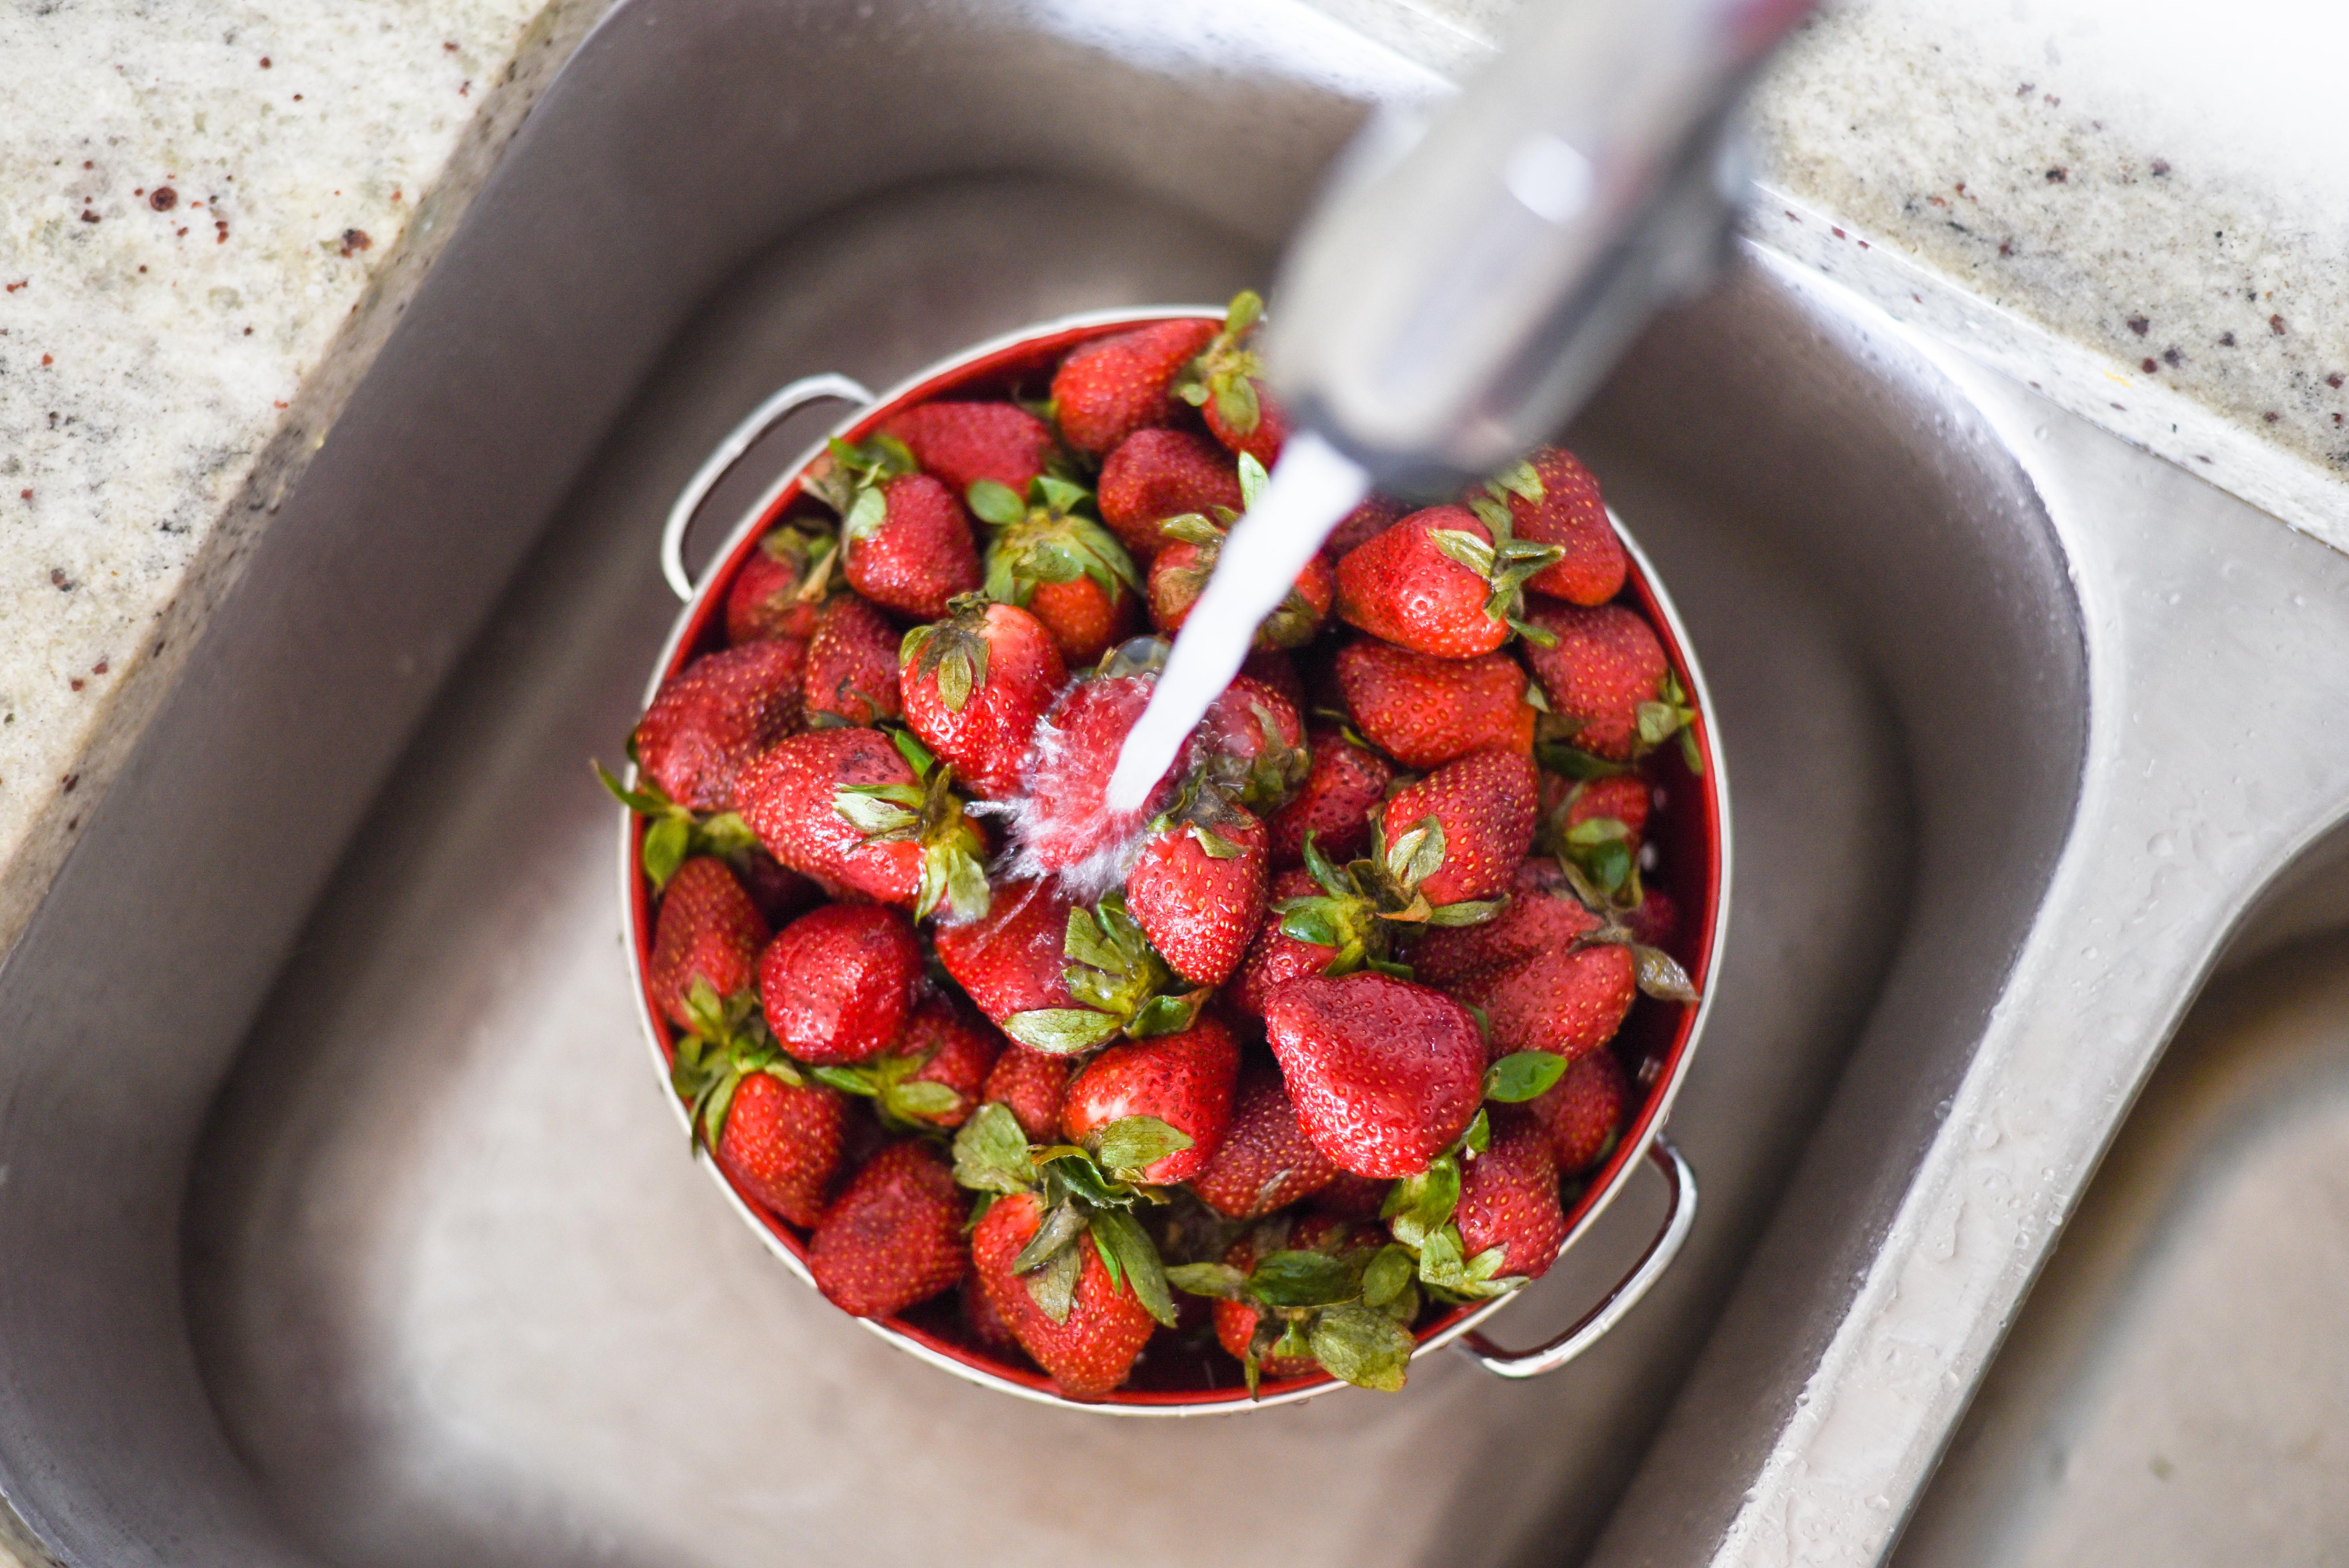
2 – only wash when you’re ready to eat
The added moisture from washing berries causes them to spoil more quickly, so only wash the ones you’re about to eat.
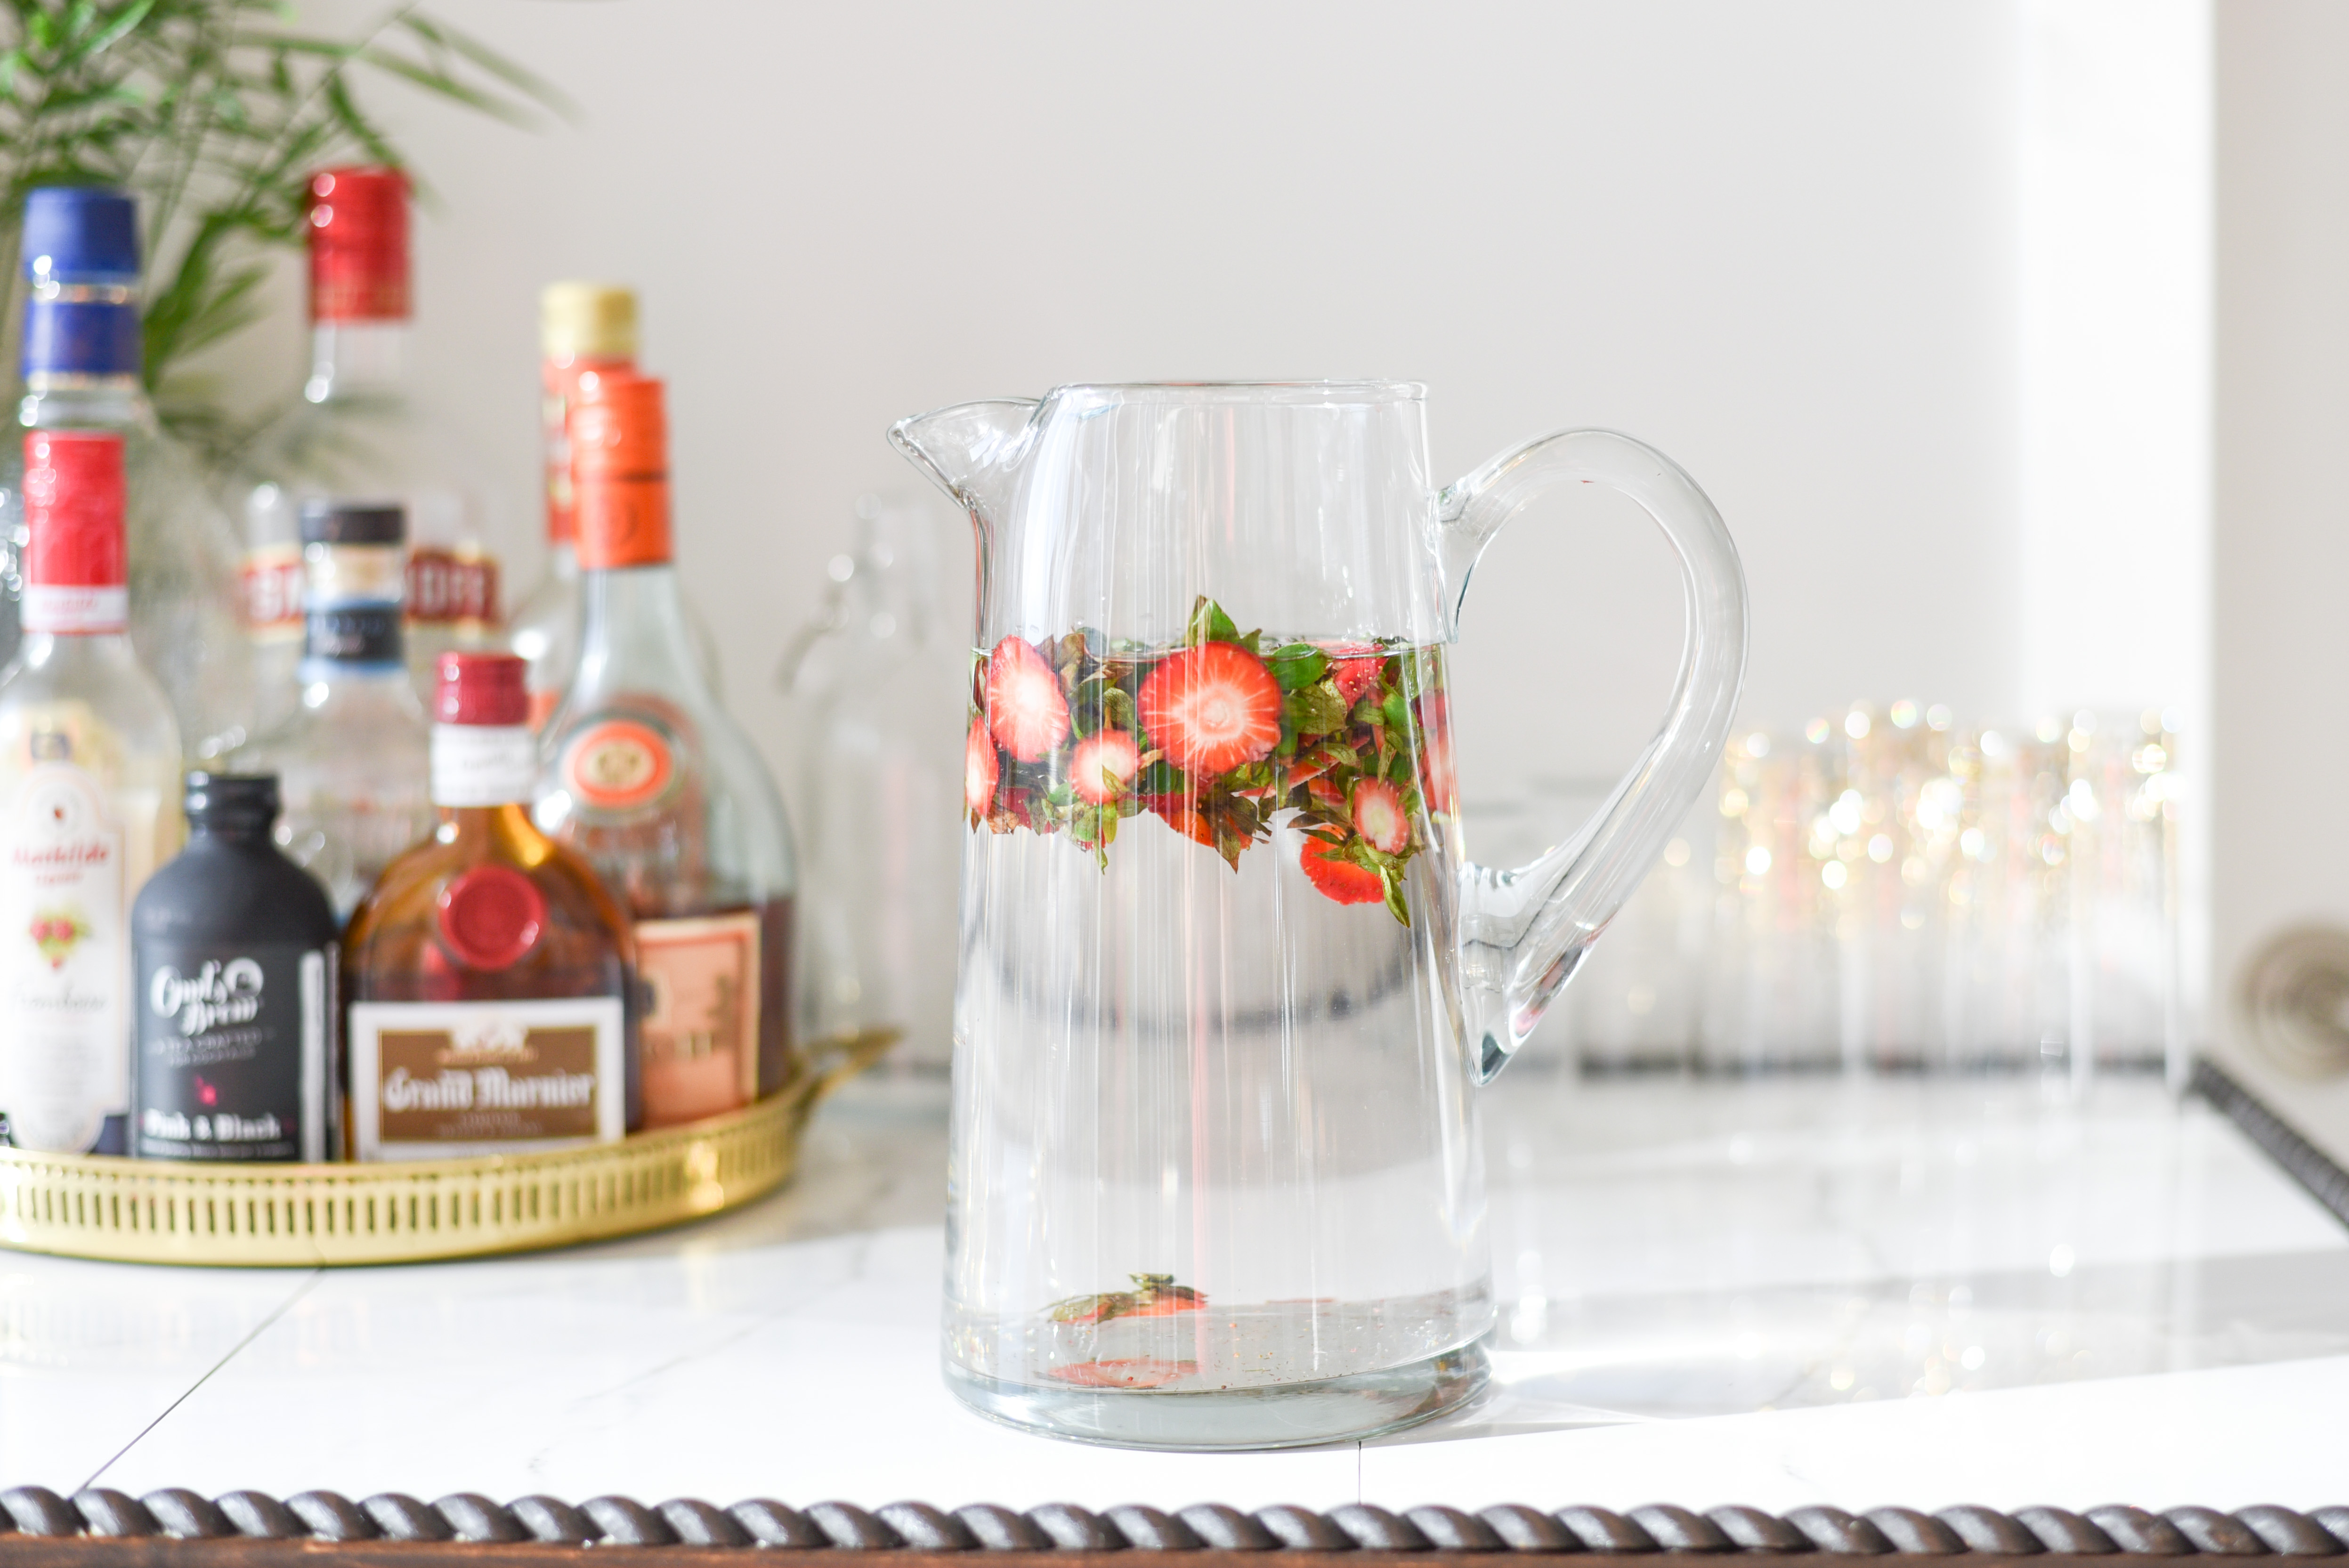
3 – use the tops for infused water
Strawberry-infused water only takes a few minutes to make, and you can utilize a part that usually gets tossed–the green tops. After slicing the (well rinsed) tops off, add them to water and allow them to infuse for a few minutes or up to an hour; leaving them in the water for more than an hour or two will sour the flavor. Try adding a sprig of mint or basil to the water, too! You can still compost the tops after they’ve done their infusing duty.

4 – freeze to extend life
If you got overzealous at the u-pick strawberry farm or accidentally forgot about a container in the back of your fridge, you can save the berries from getting tossed by freezing them. Rinse berries thoroughly and pat dry on a kitchen towel or paper towels. Remove greens and any badly bruised or moldy sections. You can leave them whole or cut into halves or quarters (I find that smaller pieces are easier to blend in smoothies or daiquiris).
Line a baking sheet with a silicone baking mat or parchment paper. Place a single layer of prepared berries on the sheet, keeping them from touching as much as possible. Freeze for at least an hour or overnight. Remove frozen berries from baking sheet and move into resealable freezer bags, removing as much air as possible. This method helps keep the strawberries from freezing into a solid block that’s difficult to use, and it works for many other types of fruit as well.
5 – roast to extend life
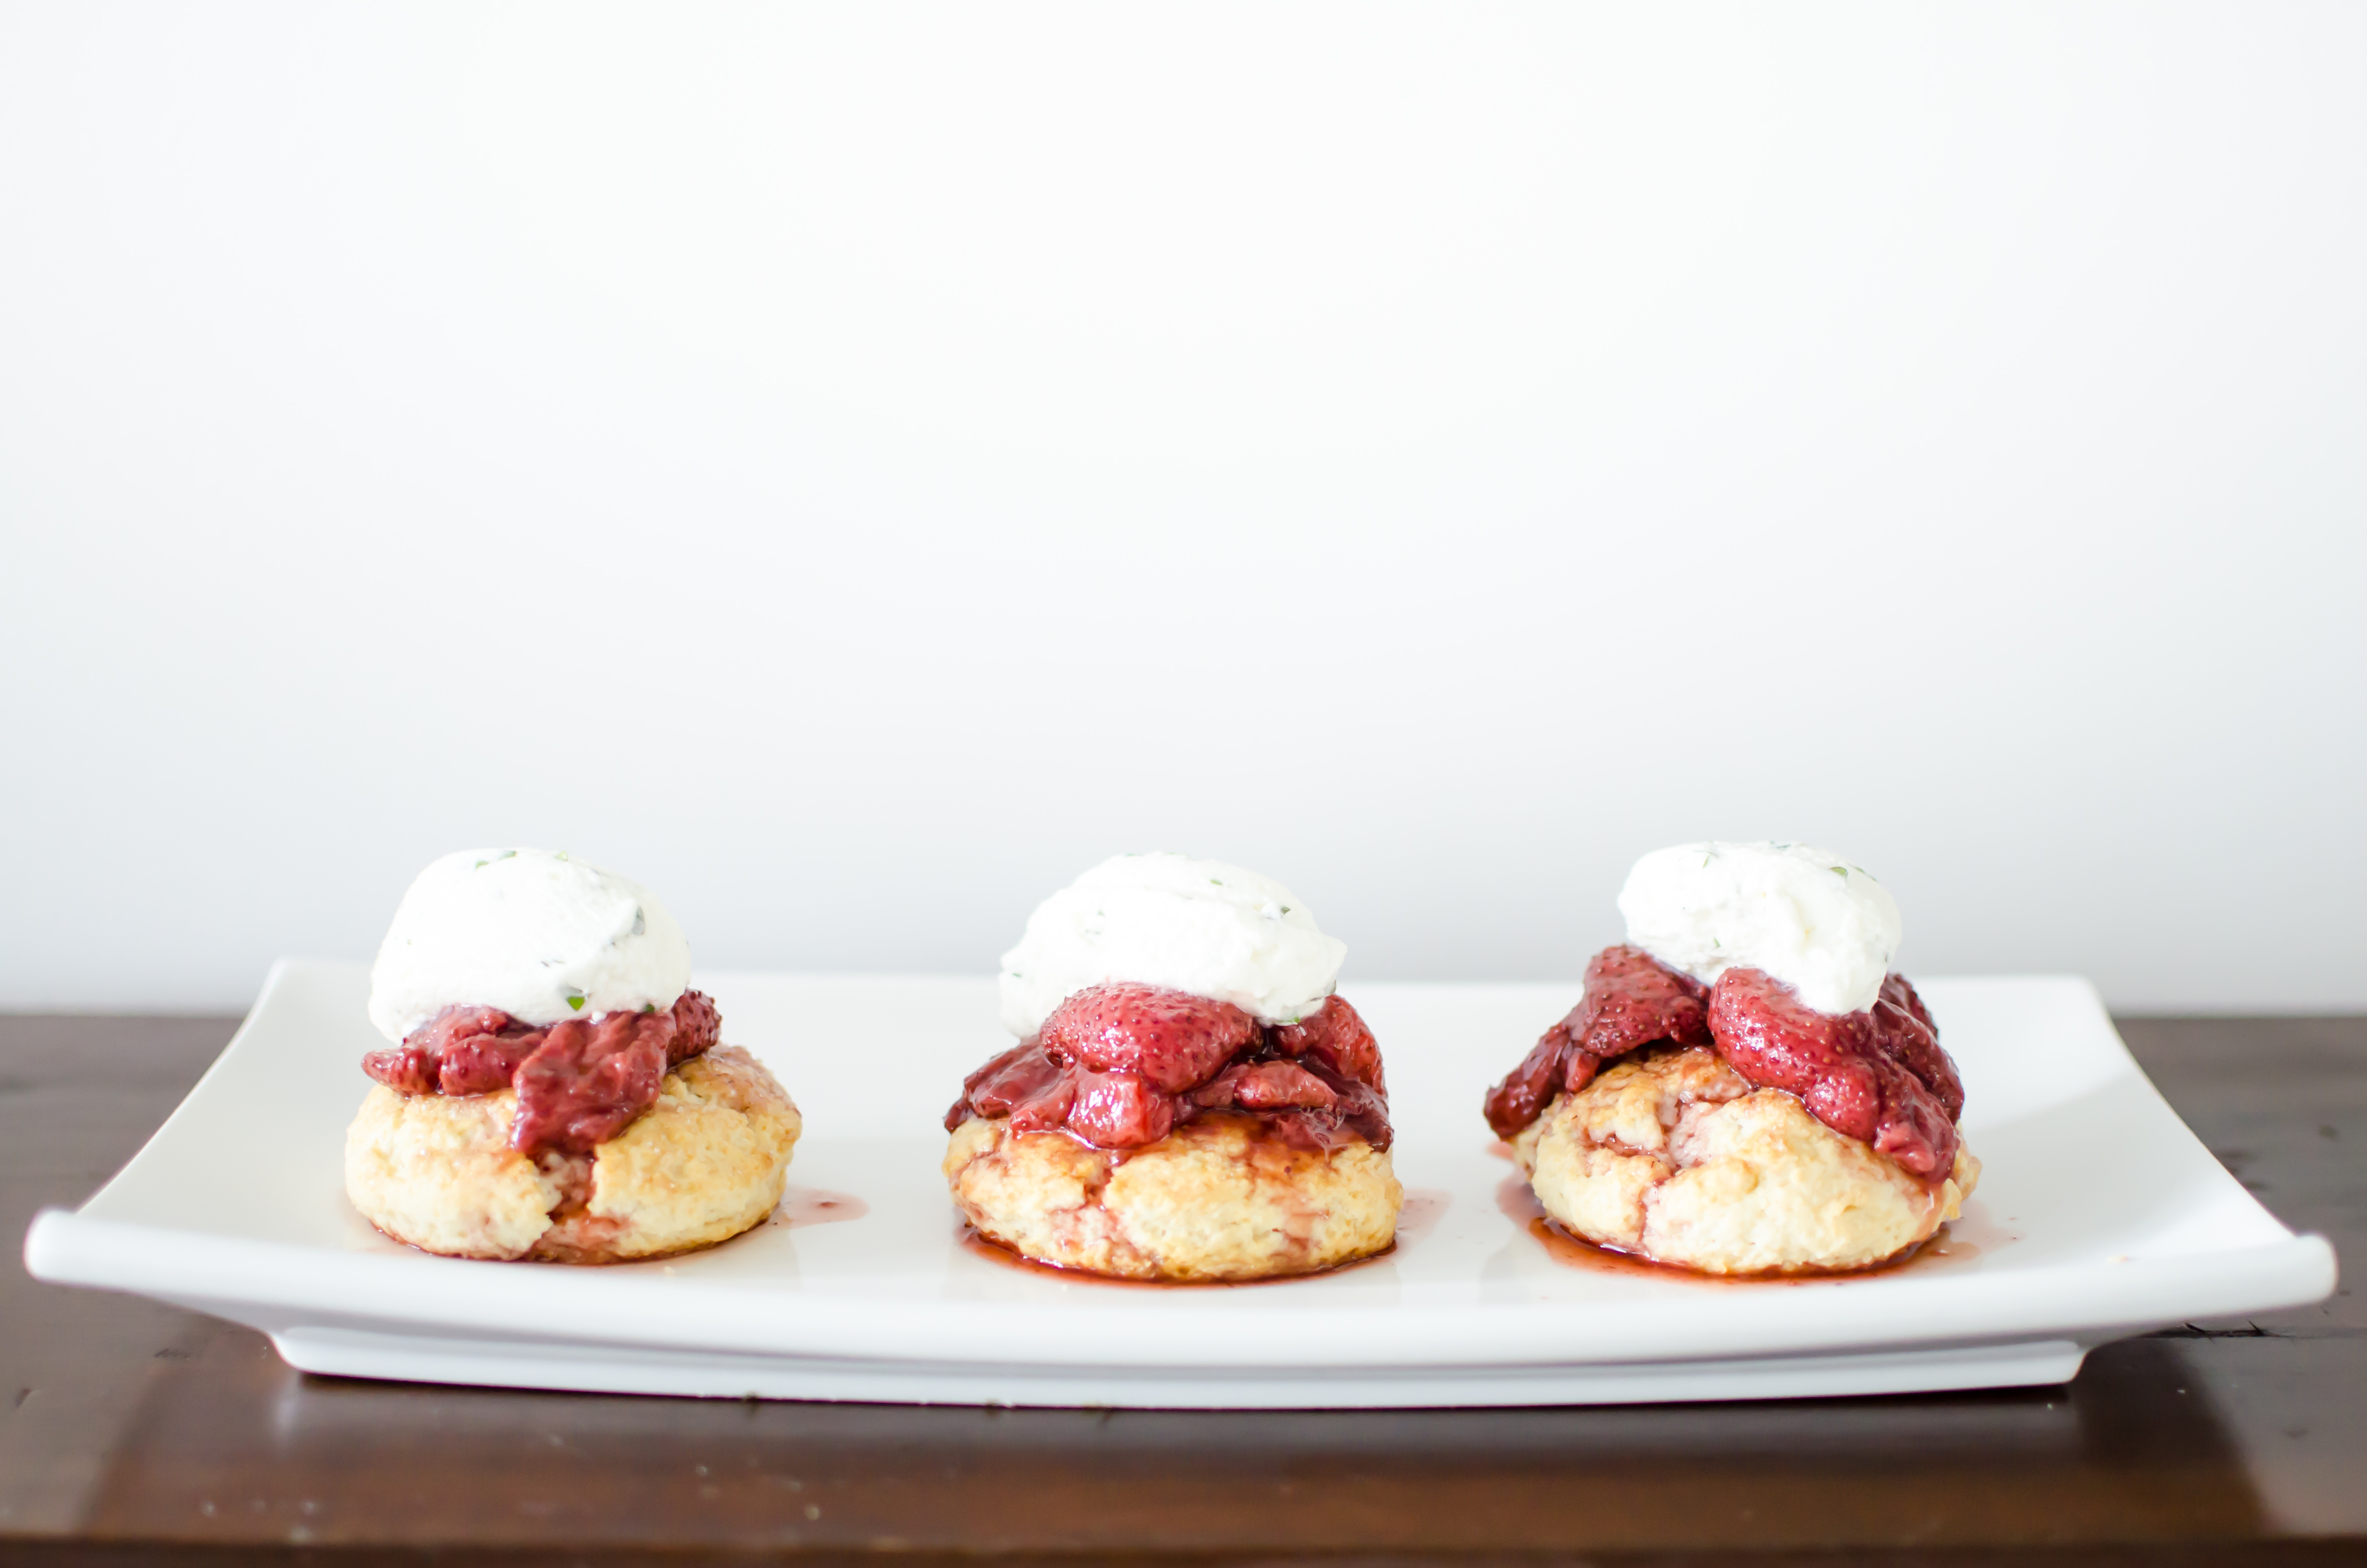
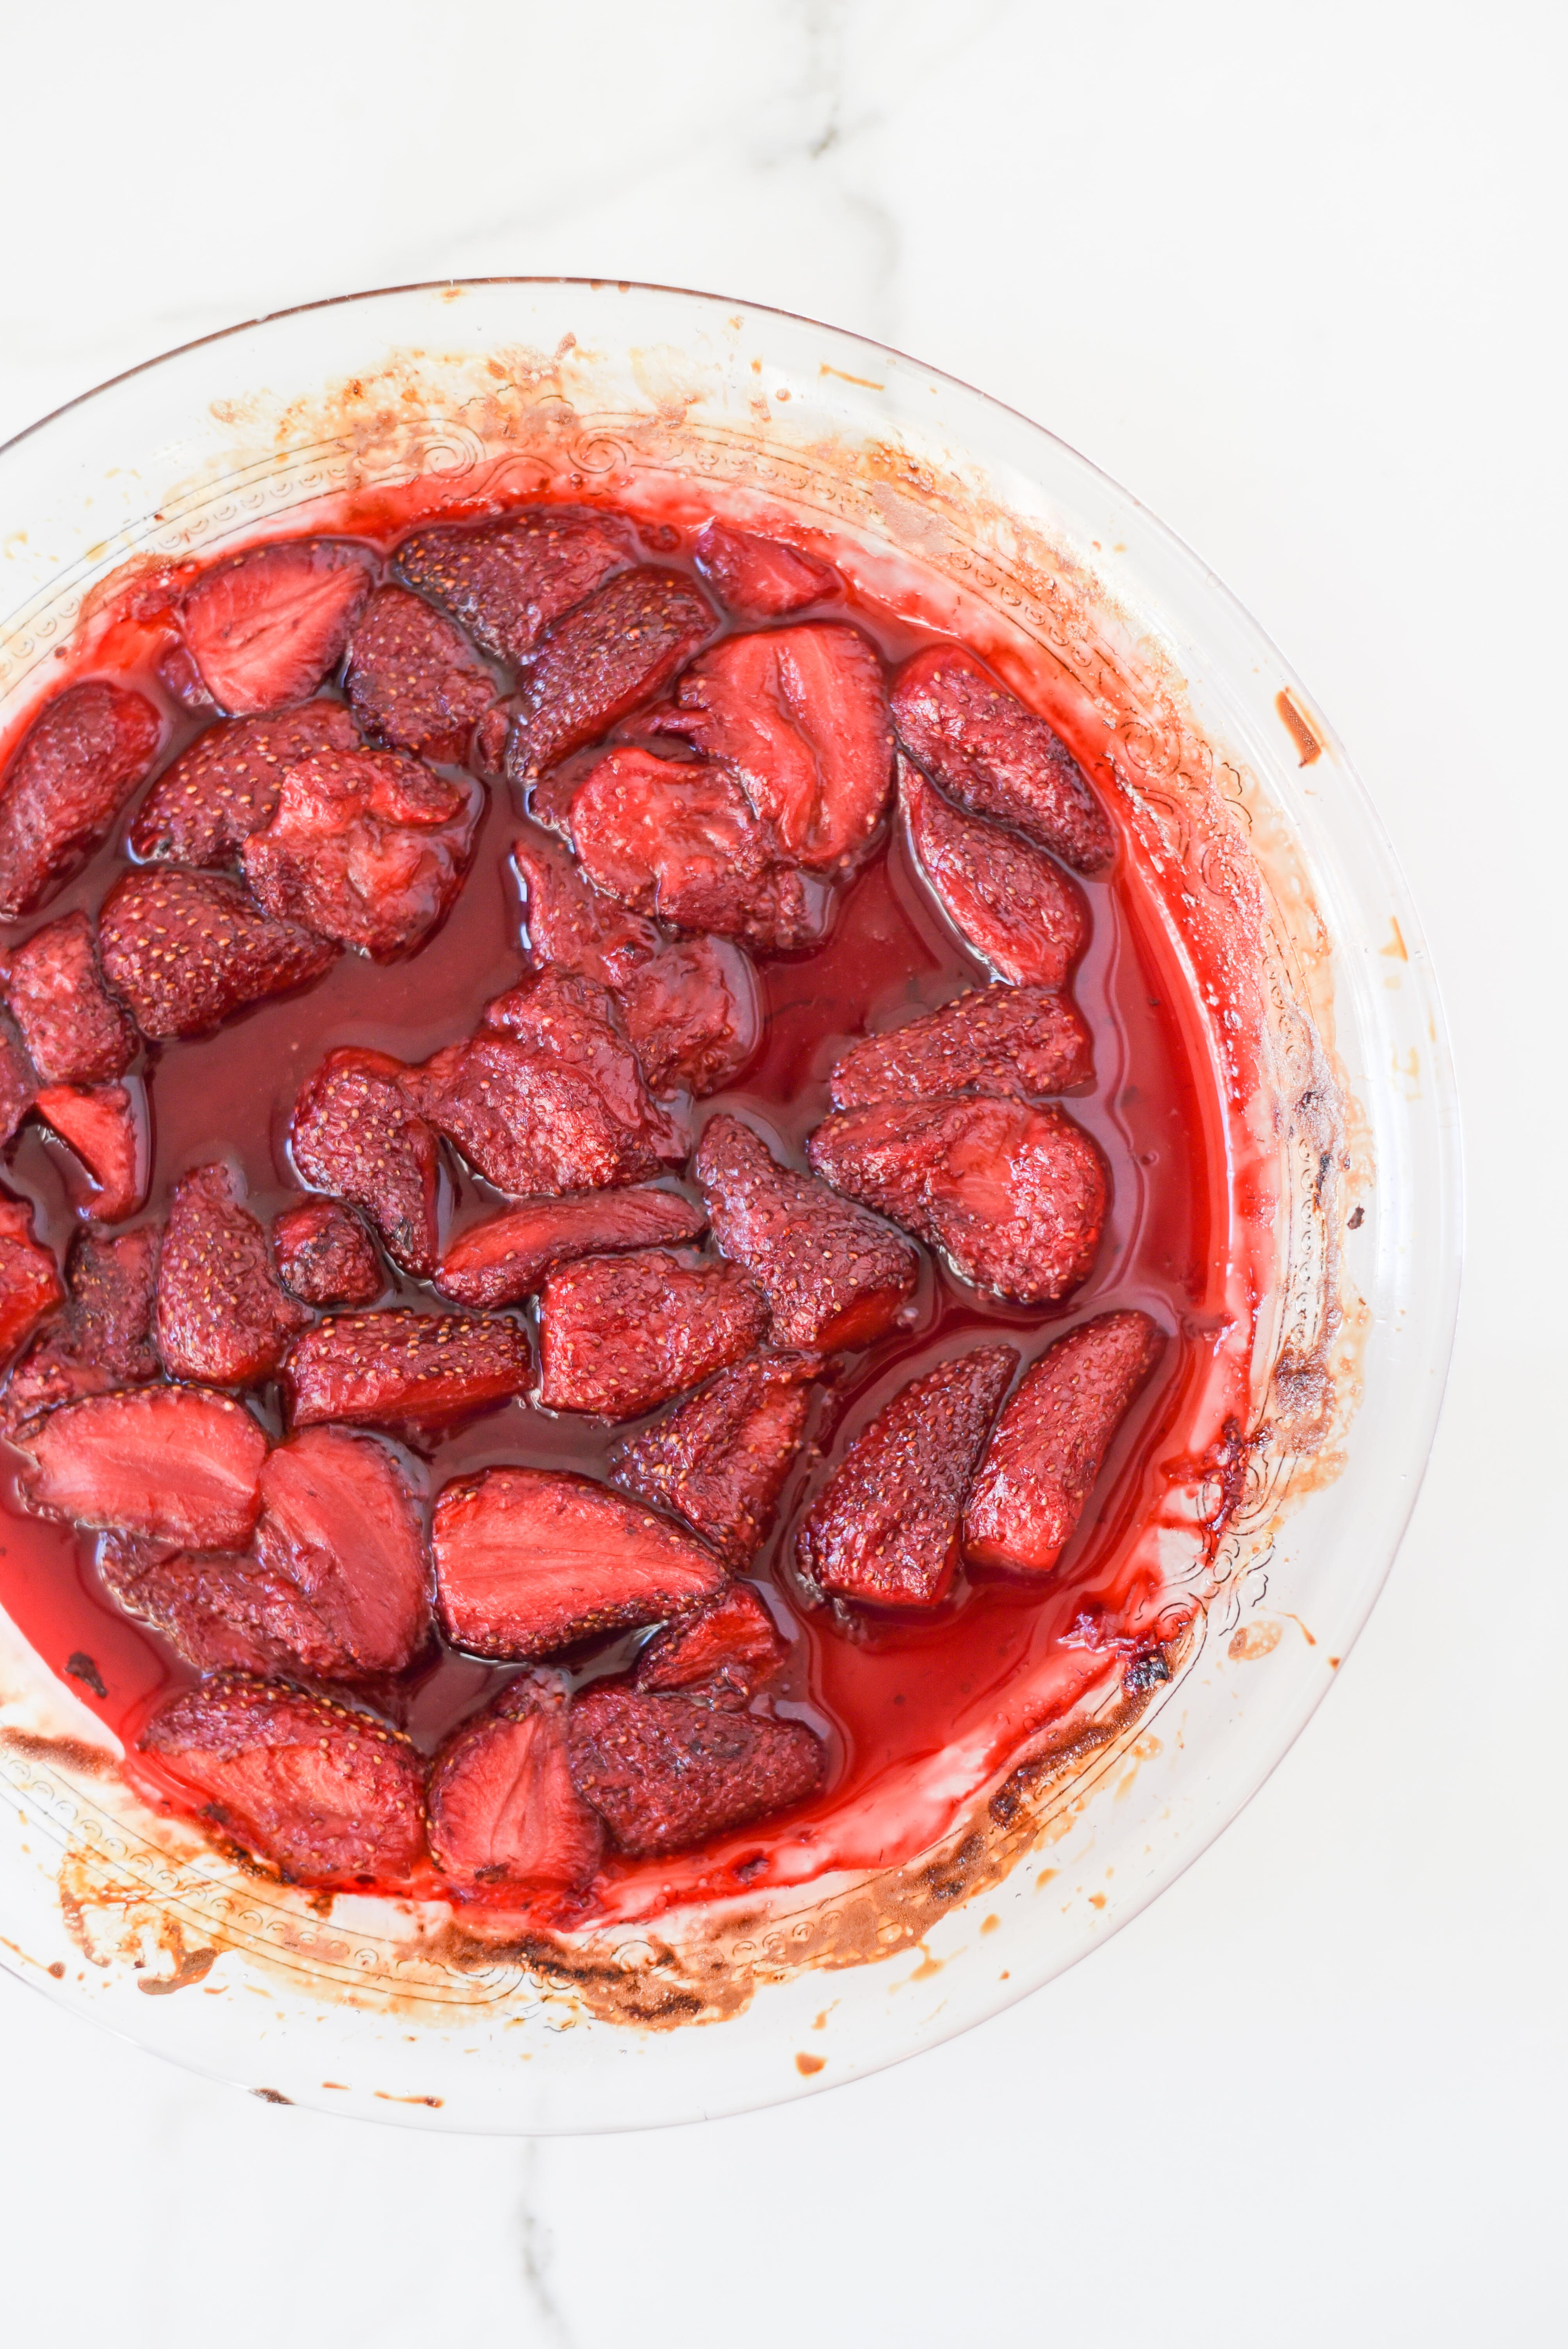
Another way to save berries for a little while is to roast them. Once roasted, the strawberries will last in their syrup for several days in the fridge. Plus they freeze quite well after roasting.
Preheat oven to 375°F. Wash, dry, and hull berries. Slice if desired; you can choose to roast them whole, in halves, or in quarters. Place the prepared strawberries in a baking dish just large enough for them to be in a single layer. Drizzle berries with maple syrup, honey, or sugar (I use about 2 tablespoons per 8 oz. of strawberries) and toss to coat. Roast for 30-35 minutes, stirring once halfway through, until berries are soft and juices are syrupy. Large or whole berries may take slightly longer. Use immediately, or cool and store in an airtight container in the fridge.
Use roasted strawberries as cake filling, with biscuits, on yogurt, or in ice cream. Try adding a tablespoon or two of balsamic vinegar before roasting for a more complex flavor.
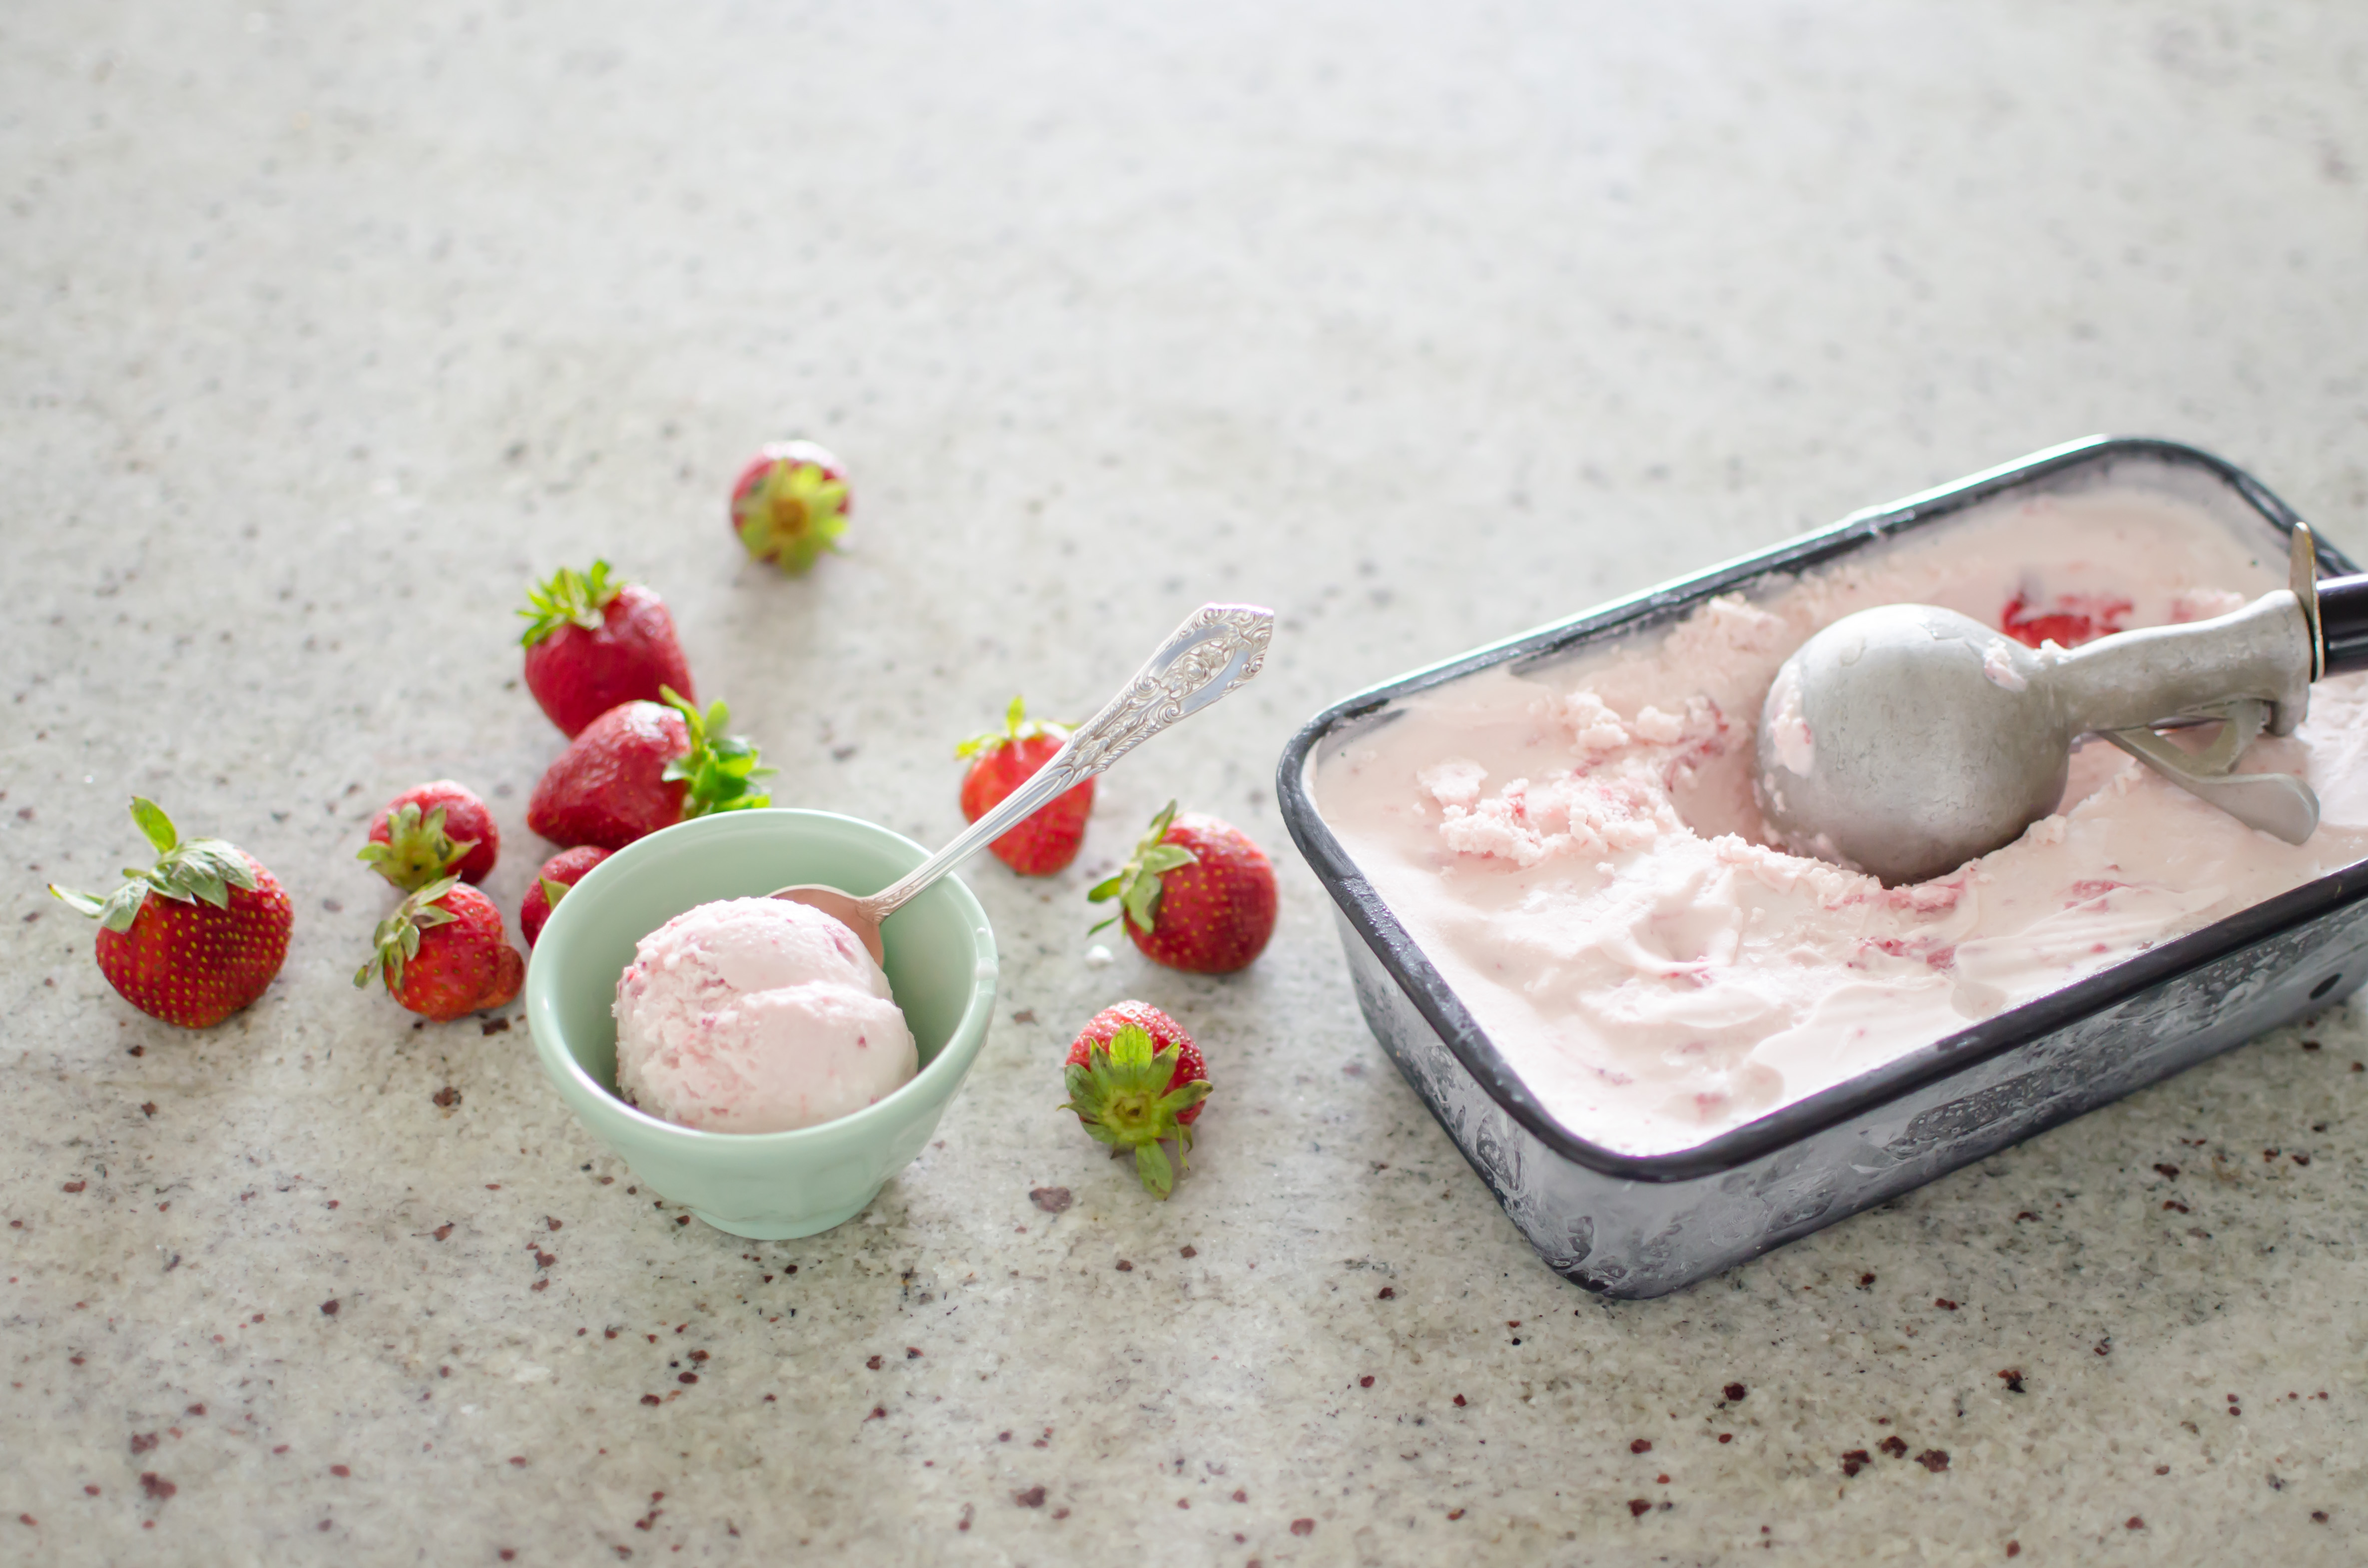
6 – try a new strawberry recipe!
A few of my favorites:
Strawberry + Balsamic Galette with Pistachio Crust
Sparking Strawberry Cocktails 2 Ways
Berry Galette with Whole Wheat Pecan Crust
Here are some fun strawberry recipes from around the web:
Strawberry Pretzel Tart — Wood and Spoon
Strawberry Whiskey Smash — Eat.Drink.Frolic.
Strawberry Millefeuille / Strawberries in Wine with Mascarpone Cream / Meringue with Strawberries and Pistachio Sabayon — Mimi Thorisson
Strawberry Panzanella — 101 Cookbooks
Strawberry Rhubarb Sparklers — Dishing Up The Dirt
Strawberry Kale Salad with Nutty Granola Croutons — Cookie + Kate


You manage to find some killer produce! I love the recipe ideas you offered and am especially excited to start roasting those bad boys!!!! <3
We are so lucky to have so many great farms and farmers markets nearby! Can’t wait for you to start roasting strawberries–I think it’s my favorite thing to do with them 🙂